Algae Research Lab

Author: Jared Bouck
Project Cost:200.00 – 400.00
Est Construction Time: 1.5 Hr
Required Skill Level: Scissors and Screwdriver
Overview:
I’ve been playing with algae and Bio reactor design for the past few years and I’ve had a lot of fun doing it. Our sister site algaegeek.com we have several different plans and sets of instructions to build all sorts of bioreactors but what I found is most people don’t even understand where to get started with algae research. So I put together this fairly basic and straightforward algae research lab setup so that I could spend some time understanding each algae strains and what it requires to make those as productive as possible. Hopefully what I’ve done here will be useful and at a minimum mildly entertaining
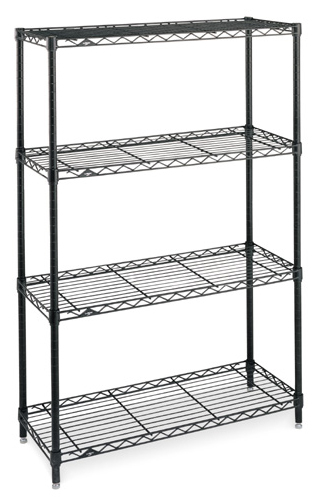
For this project we only need a handful things to really make a success. One of the most important is a good shelving unit. Some of the components in this build a little more expensive than our average project, but building something that’s going to last as just as important as learning how to build something cheap. The shelving unit we picked up their home improvement store it’s easy to setup adjustable and very durable all for about $65.00.
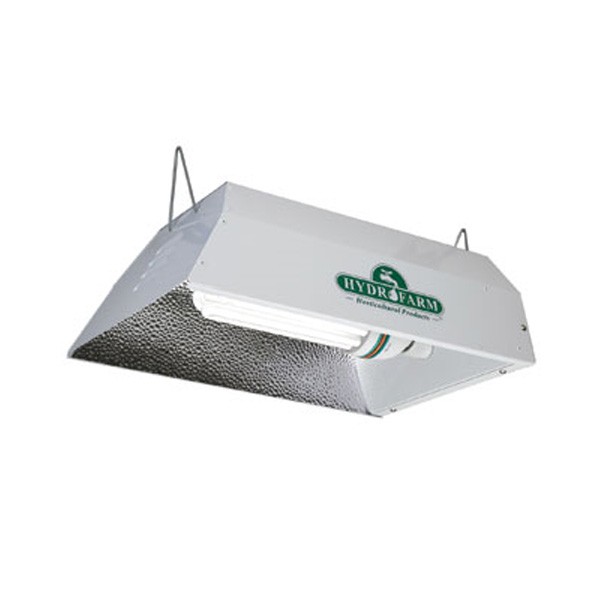
For the bulk of the lighting in this project were going to be using a hydro farms CFL lighting kits. These high output lights provide soft cool lighting with the ability to change the bulb out depending on the color of light we would like to use. However $80.00 each they’re not exactly cheap.
Another key element that we will need for this project is what refer to as a grow tent. A grow tent is nothing more than a temporary structure designed to for climate control and to ensure optimal use of light.
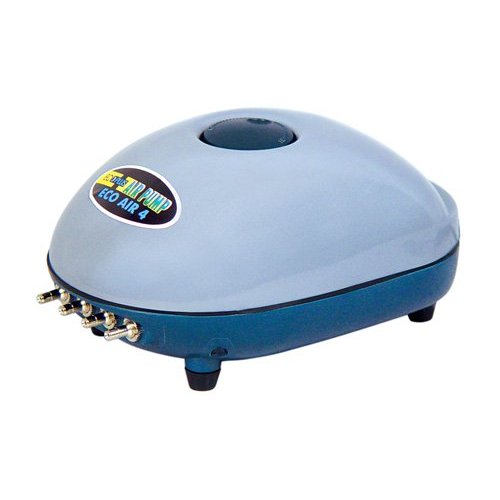
Having played with some deep water culture air pumps for some time now I’ve learned a thing or two about what a good air pump is and is not. This high output four nozzle model is available at Amazon .Com and several other online retailers for about 35 to 45 dollars. With some of the experiments i am doing is ideal to have isolated air supplies.
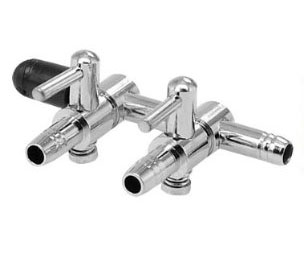
The stainless steel ball valves are excellent for controlling the amount of air pressure is used for each line. Additionally by putting some back pressure on both lines you eliminate problems that may arise from having different rows of beakers at different fluid levels. For $5.00 each it’s hard to say no.
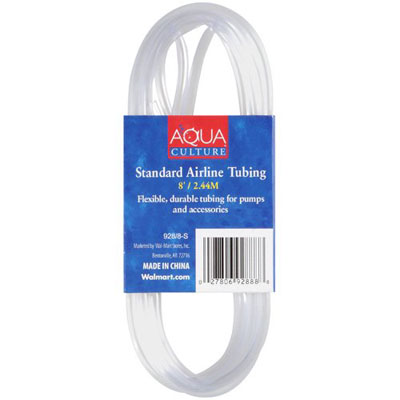
This simple component while not necessary for an algae reactor to run is really crucial in my mind. Aerating algae both agitates it so it gets uniform light exposure as well as introduces more CO2 to the mix. This air hose we picked up from a local aquarium supply store for 2.00USD and is far more than we need for this project (so we have more for future projects). It’s worth noting that this hose doesn’t react well to long term direct sunlight exposure, a simple UV resistant clear coat though makes it last much longer.
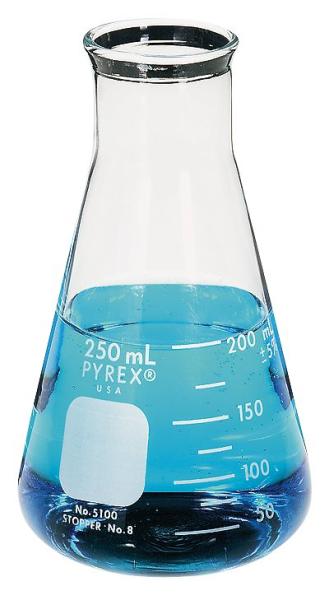
For the experiments im going to be doing I will be using both 250 milliliter and 500 ml graduated flasks. Each of these flasks will have a two hole stopper so that they can easily be chained together.
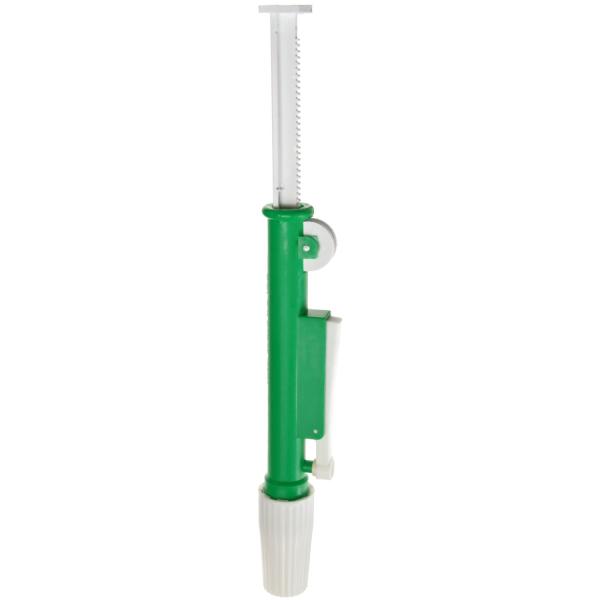
Another trick that I learned is to use glass pipettes that I can both sterilize and reuse to inoculate the different flasks I’m experimenting with. These are relatively cheap and I found the 10 ml and 25 ml capacities be ideal.
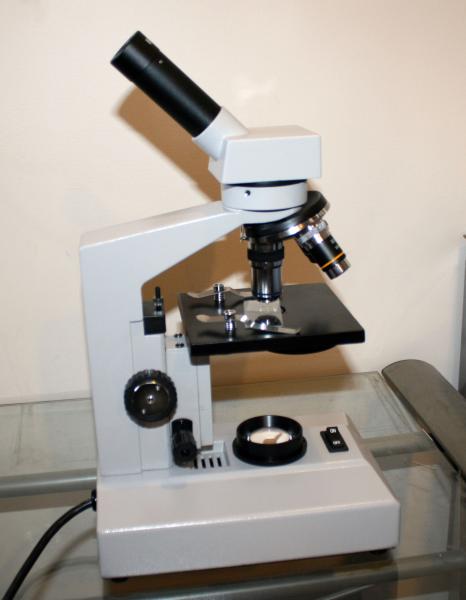
Finally and most importantly is you’ll need a decent microscope. I was actually very surprised at how many very good and microscopes are on the market and a fairly affordable price. The microscopes is invaluable when trying to confirm the strain you are working with is pure. Is also very valuable for estimating the density of each culture your working with.
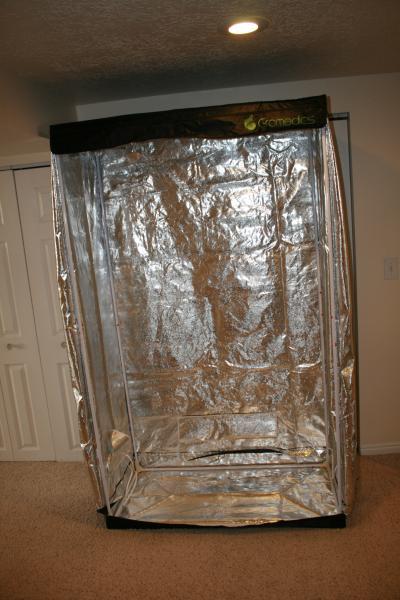
So similarly to other projects we have done we will be setting up hour grow tent first. The grow tent creates and the isolated space where we can control all of the environmental variables that we will concern ourselves worth. These tents range from $85 earned $250.00 and it’s important to get the tent that has them italicized interior and not the white PVC. PVC gives off chlorine gas and will kill all of your experiments.
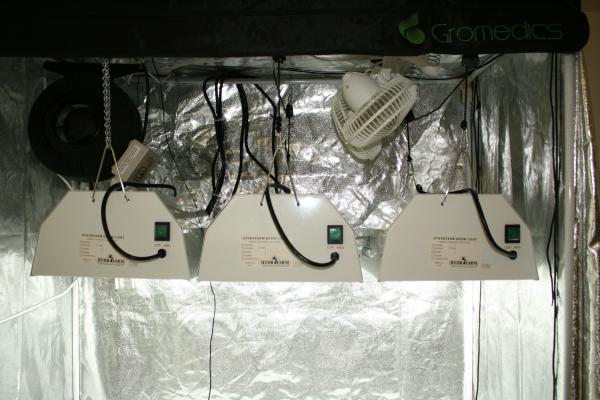
Next will focus on the top of the tent. Using the rods in the top of the tent we will mount three CFL hydro farm lights as pictured here. It’s a good idea to use rope hangars that are adjustable so you can raise and lowered the lights to control their intensity. In addition to this will add two clip fans to help circulate the air and prevent hot spots and one exhaust fan to help control the temperature inside of the tent.
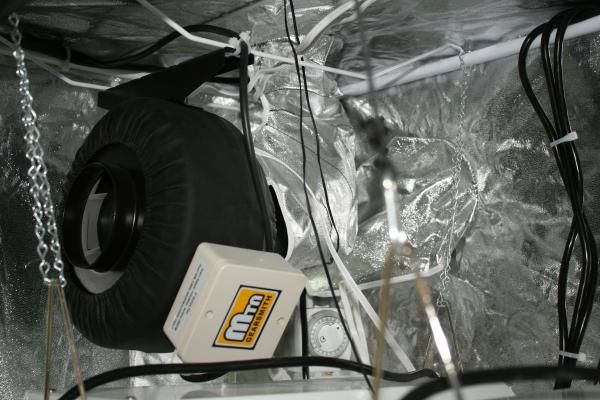
Here we can see the exhaust fan mounted to the top of the tent with the ducting blowing air out.
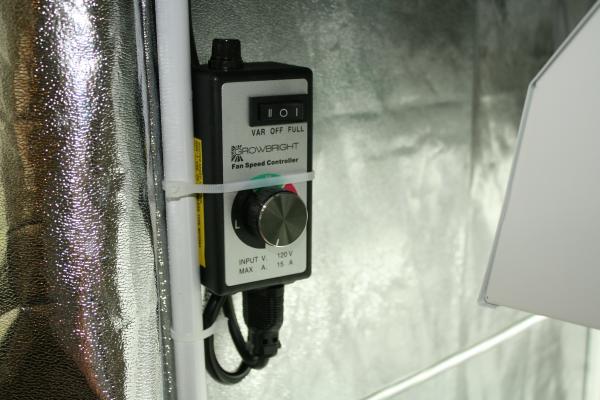
Here we have the fan speed controller. The centrifugal types of exhaust fans often can be very loud and having the ability to control the speed is worth the $20.00 of this speed controller.
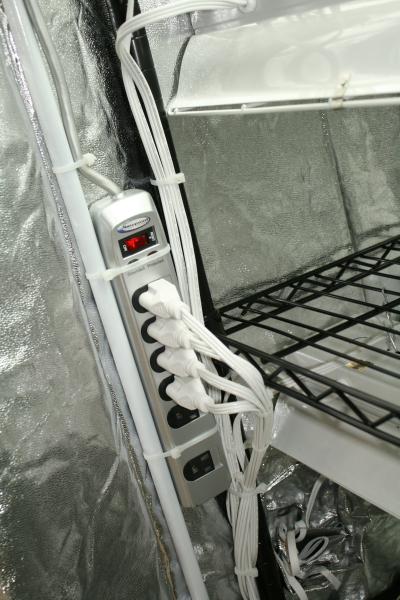
Next you wanted a power strip. For the lower racks will be using simple shop lighting for lower intensity experiments. This is a great place to place petri dishes and experimental small scale reactors.
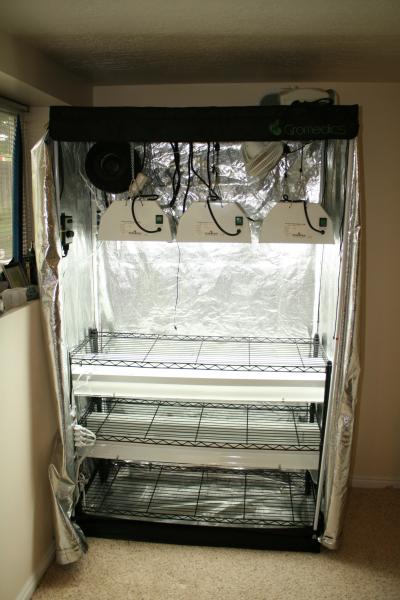
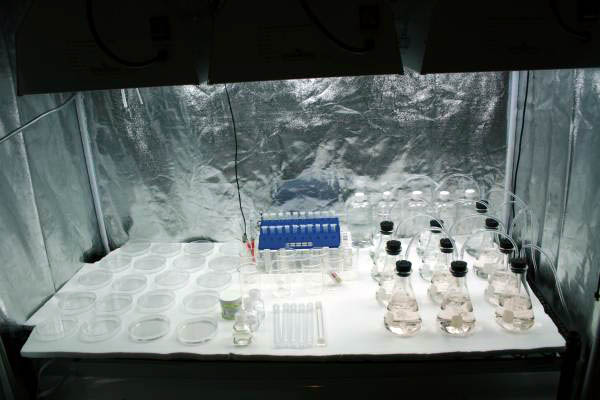
Here we can see the tent entirely setup with the shelving unit and low intensity lighting below and the high intensity lighting focus on the top shelf. The only thing left to do is to add a white reflective surface on the top shelf. Ultimately after several attempts I found that cheap white foam insulation panels available at any home improvement store with a perfect surface to work on.
bla bla bla
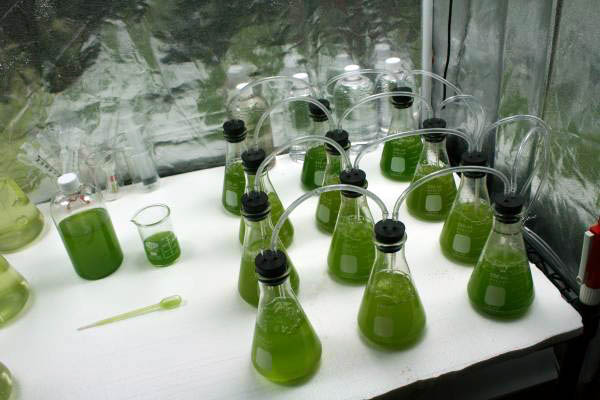
Now we get to setting up the actual experiments. My first small scale reactor was very simple the build. All that i had to do was to take two of the outputs on our air pump and connect them to our ball valves. This then allows me to have two separate airlines per main line from the pump. So taking some two hole stoppers and a little bit of glass tubing I was able to construct will we see here in about 15 minutes.

On the other side of the table I initially started using petri dishs but later found but they were better placed on the lower shelves. This is an excellent way to isolate strains and in a slow controlled environment keep the strains alive for further experimentation.
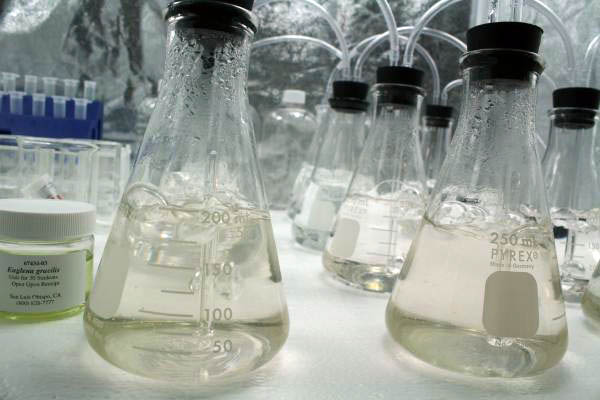
Here we can see a slight brown hue to the water. After experimenting with several different nutrient solutions I ultimately settled on general hydroponics flora series using the RE-circulating feed method. Interestingly enough I found that the algae is capable of not only growing but explosively growing under very very high concentrations of nutrient solution.
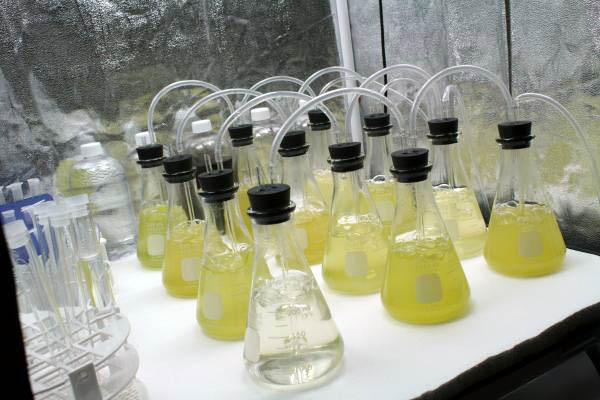
Here we can see the beginnings of our algae reproducing. Because I was starving the algae of food the algae became stressed and changed color to view this yellow hue. Once additional nutrient solution was added the algae bloom to very quickly.
And we can see five days later beautiful bright green dense algae. This ended up working so well that I changed the opposite side of the table top 500 milliliter flasks.
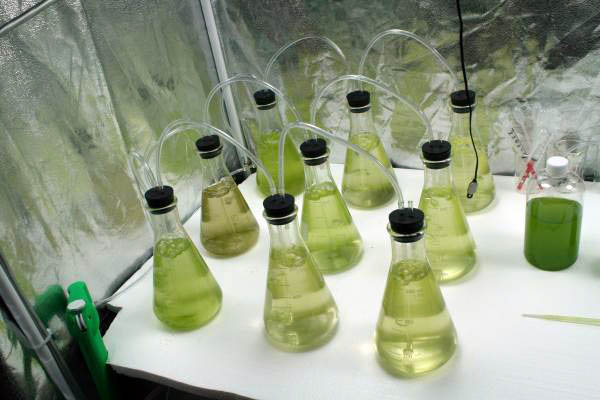
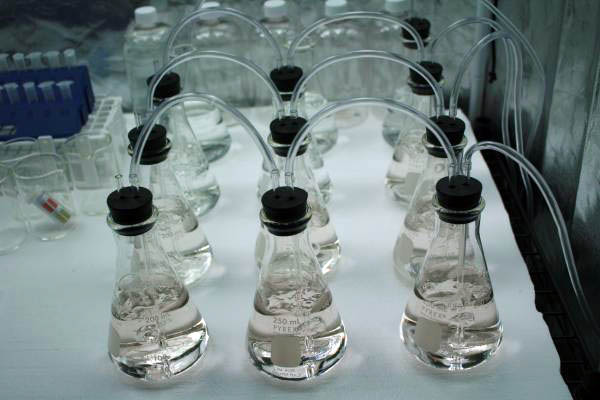
Here we can see the flasks that have just been inoculated with algae strains less than 24 hours before. This idea so happens to be using a very mild nutrient solution as I was experimenting.
One thing that is very nice about using the 500 ml flasks is that evaporation occurs at the same rate but there’s more fluid to buffer that rate of evaporation. So if you ignore your algae for a weekend in I can have an substantial problems.
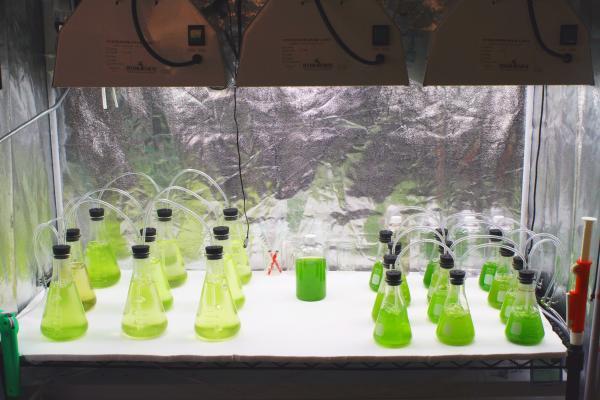
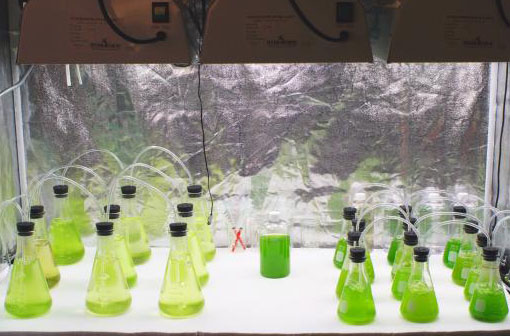
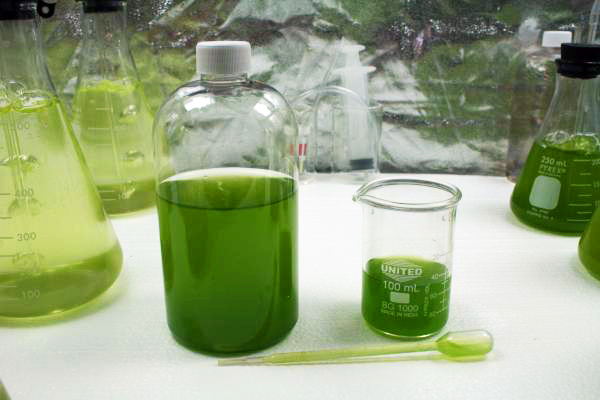
So after doing a lot of experimenting on finding what was the right and wrong method for algae production and we can see a very happy reactor with several algae strains.
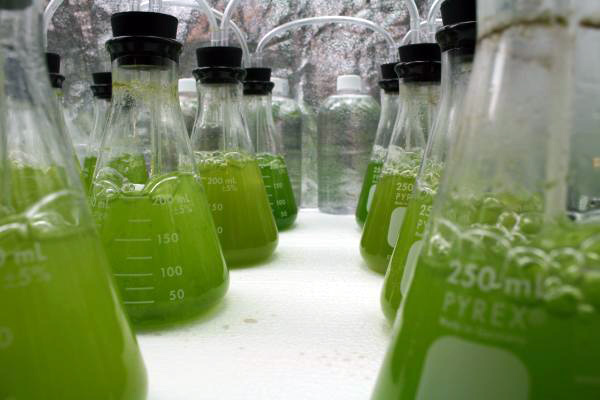
Here’s just a close up we can see the flasks with the air bubbles agitating are algae cultures.
So what is all this for. Ultimately there are many many people who believe algae has the ability to have a positive impact in a world in society in the future. Whether this is in the form of fuel, sequestering Co2, or providing a food source there’s no question algae is an extremely important part of our future.
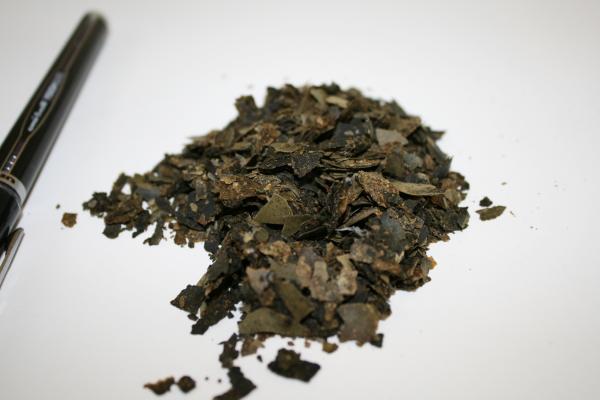
So with everything said and done what do we do what the algae once we’ve grown it? Every other day I take my densest strains placed them in a nonstick skillet and let them evaporate in the sun. What is left is dried algae. This algae depending on the strain can directly be consumed or can be added to gardens is compost or can even be squeezed through and expel our press for the oil content in has.
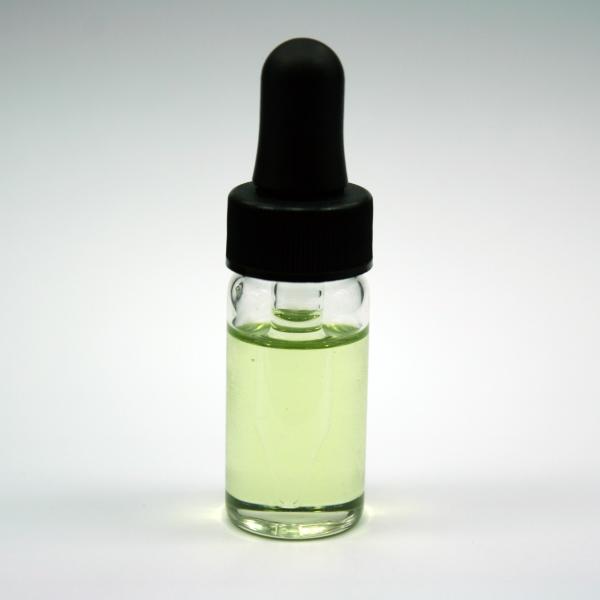
And here we have the final product algae Oil. This was extracted through a expeller press and passed through several layers of coffee filters to leave us with this lightly pale green oil. Ultimately this is the holy grail may researchers are seeking to have the net neutral C02 fuel source with minimal investment costs. With any luck hobbyist like us to help guide this in new industry and innovate in our own backyards.
Related Posts
7 Comments
Hi, I have a few (simple) questions about your algae research lab. Maybe you could email me?
Thanks!!!
I’m a high school science teacher with a student who wants to replicate your bioreactor for a 8-week project. She wants to build it in the next two weeks. Can you email me any further info not posted on the how-to write-up? Thanks.
Your welcome to ask any specific questions here. Sadly i don’t know what I don’t know I left out of the article…
Hi, I was wondering where to get the vial in the last photo. The one that the lid was a pipete.
It can be cheaply bought from China at eBay. Around 1$ free shippings.
Also, algae farming isn’t nearly as efficent as wolffia arriza farming (duckweed). However algae produce the oil which can be used for biodiseal over bioethanol.
What is the oil produced is it crude oil or vegatible oil?