DIY 40 Inch Silver Reflector

Overview:
So photography is not only a hobby of mine, but also more or less absolute necessity for what I do here on invent geek. That being said I have always been appalled at the high prices for photography equipment and accessories and I find myself thinking that I could make this a lot cheaper than that! Well its time I put my money where my mouth is I guess and finally start equipping my studio with the types of equipment I both want and need to create more consistent and higher quality imagery for our projects. So I have started a new series of projects in preparation to the launch of a new sister site in our how to network for photography, studio and lighting equipment and accoutrement that I am putting together. So we will be doing many projects across the board and wanted to start with something easy and yet worthwhile.
For our first photography oriented project we are putting together a 40” silvered reflector. Reflectors are extremely handy for providing fine control over lighting in a wide variety of shots. And while most reflectors cost 25-50 USD to purchase we have been able to achieve the same quality (by use of the same common materials) for a mere 8.00. While most geeks may not be skilled with a sewing machine, this is both a great introduction to simple sewing as well as our photography project line.
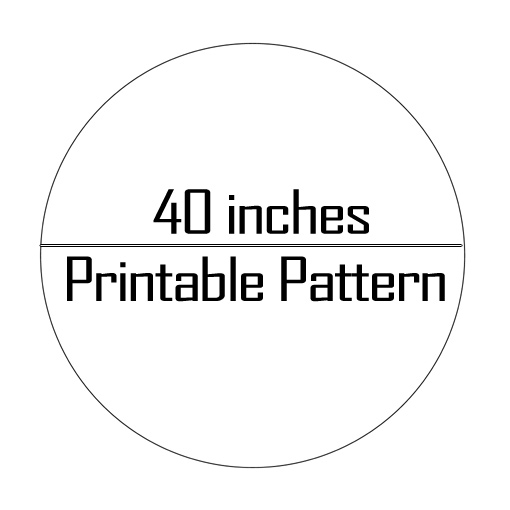
If you need a pattern for this project, here is a link to a gif you can send on over to kinkos to have printed on their large format printers that should set you back only 5.00ish. Make sure to right click the link and click “save as”.

Scary Springy Steel Wire of Doom:
For this project we will be using what is called fish tape. This is normally used for fishing wires through tight spaces and long runs. The nice thing about this wire is it is extremely springy and strong. Be sure to respect this wire! This coil is like a bomb waiting to go off and it will unwind its self violently and completely if you lose control of it taking any eyes in the area with it. The circumference of our 40” reflector is 125.6 inches, so we will be using 129 inches of wire to allow for stretch and overlap. This stuff turns up in dollar stores often, or buy a refill inplace of a new tape.
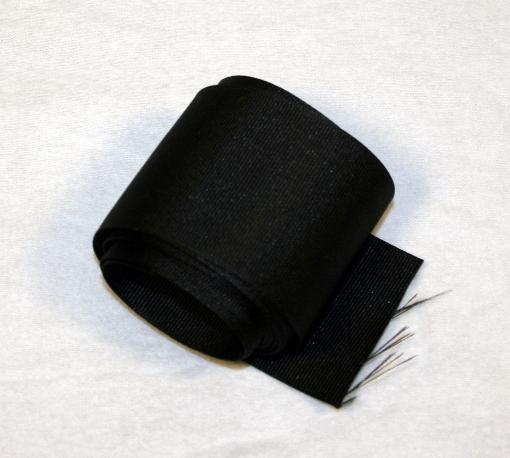
Webbing:
This nylon webbing we used for this project is the border of our circular reflector and both gives a place for our spring wire as well as protects it from use. For this project we used 2” wide nylon webbing with a tight weave, though a looser weave would work well also. The circumference of our 40” reflector is 125.6 inches, so we will be using 127 inches of webbing to allow for overlap.
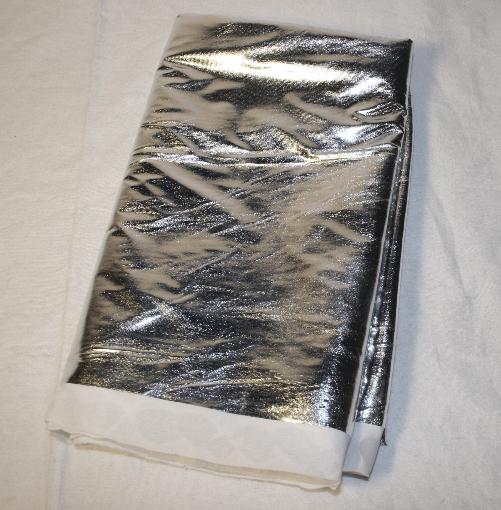
Metalic Fabric:
Finally we will be using a shiny metallic fabric in this project as well as others in our photography project line. This is not to be confused with a metallic or shiny fabric like silk or sequins. We are looking for a very bright finish on the material. I picked mine up from ebay for 4.00 a yard. The material I used has a nylon backing that is 44” wide… the metallic coating is only 42” wide. So be careful to ask clarifying questions as needed.
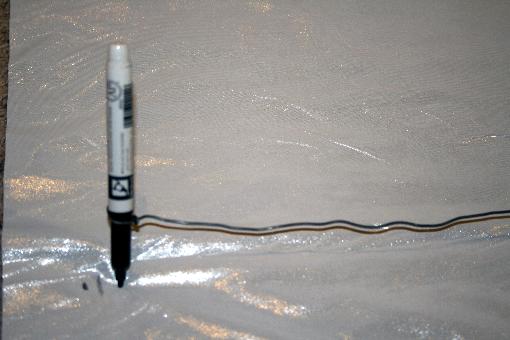
Step one to building your reflector is to cut out a round disk of your reflective material. The easiest way to do this is to take the diameter of the circle, divide by 2 and then make a wire with loops at both ends that length. Then using a block of wood with a screw in its place one ends loop over the screw and a marker in the second. Scribe a circle on the back side of the fabric.
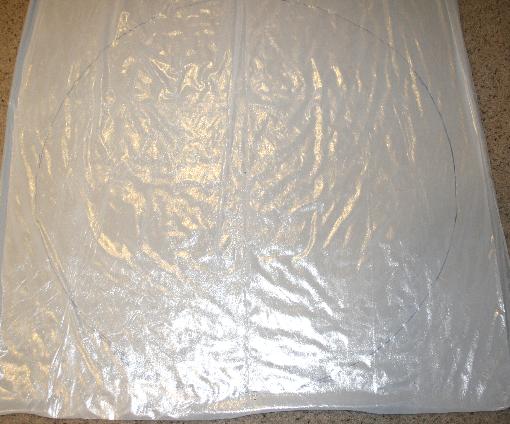
Though its hard to see in this picture… if you look hard, squint while crossing your eyes you can see our outline for our circle.
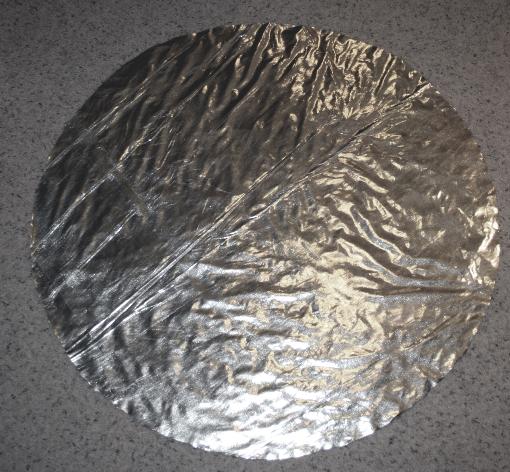
Here we have our circle cut out of our reflective material. Its starting to feel like a our photography reflector already!
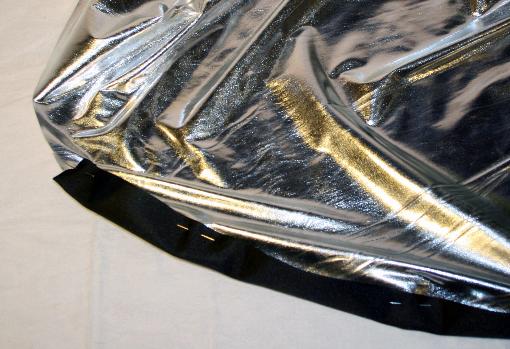
Next using some pins pin the webbing to the fabric around the circumference to keep it spaced well. Once you have pinned it sew the webbing making sure to leave enough room in the folded part to fish your wire through in a later step.
With the nylon webbing edging sewn into place around the edge you will have something that looks a fair bit like this. Please note we did not close the loop so we can install the wire ring.
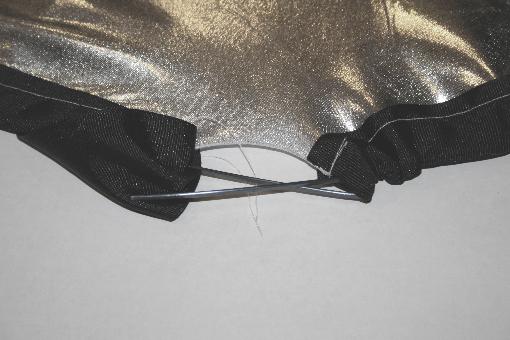
After gently guiding the wire into place you should have a bit of overlap. This is so we can adjust the taughtness of the wire and have space to secure the ends together in the next step
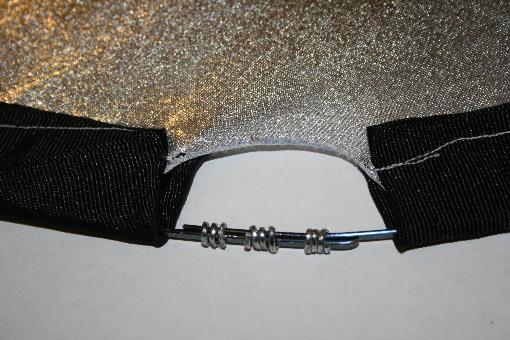
Using some small bits of wire (I used some stapes from a heavy staple gun) tightly wrap the ends to secure them together. Using a couple pair of pliers at the same time is recommended for a tight band.
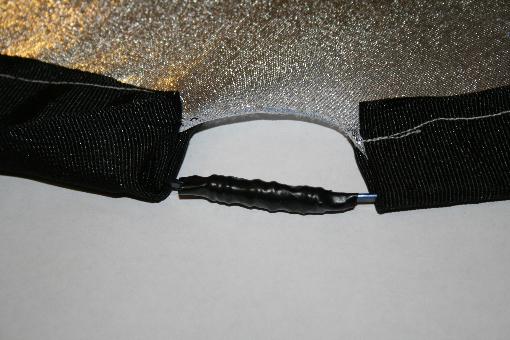
Finally wrap the wire ends and banding with a couple layers of electrical tape to prevent any chafing to the webbing.
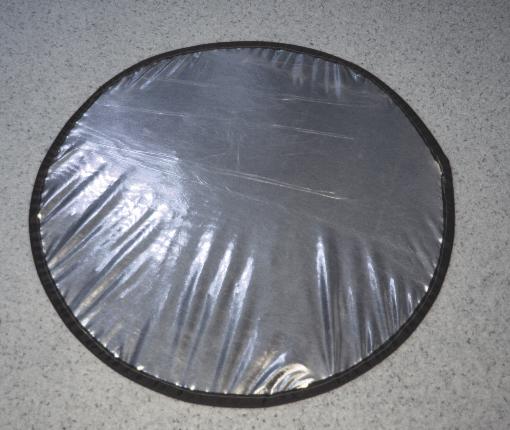
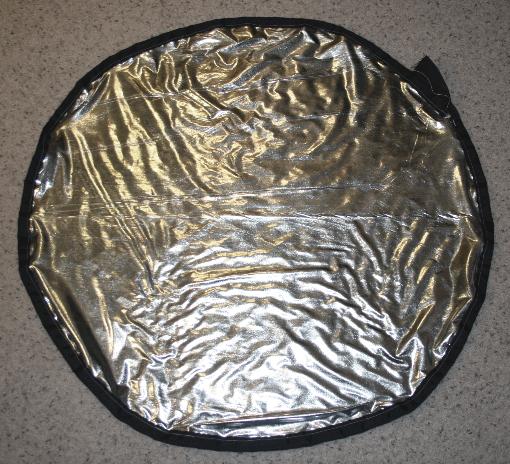
Here we have the finished our photography reflector project setup so you can see it. You will notice the wrinkles and waviness in the material; this will flatten out if you let the reflector sit for a little while before use. It’s also a sign you could have gotten your metal loop a little tighter… but meh! It works for me!
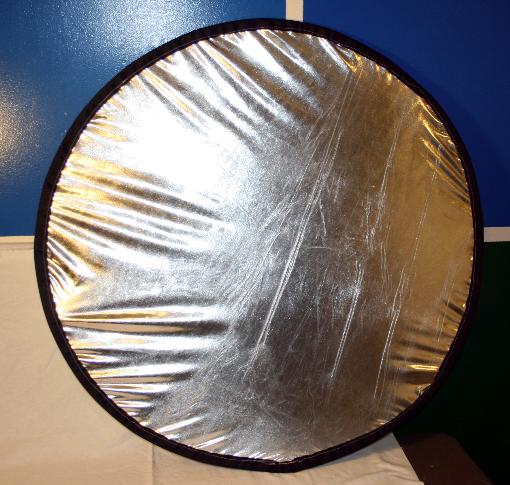
Here we have the finished project setup so you can see it. You will notice the wrinkles and waviness in the material; this will flatten out if you let the reflector sit for a little while before use. It’s also a sign you could have gotten your metal loop a little tighter… but meh! It works for me!
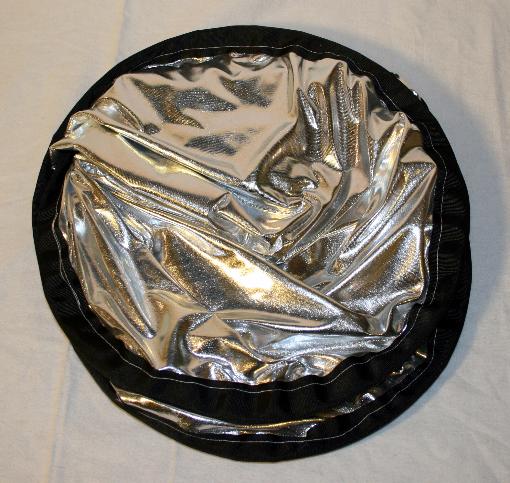
But the best part! It collapses down to nothing with a couple bending twists of the wire frame! Great for storage and transportation if needed and it makes a great sudden appearance with a flourish and can make you feel like a magician.
So… what do you think of this article? All InventGeek projects are funded out of pocket and we do our best to freely share what we have learned so you can do your own experiments and build on our work. This can sometime be a costly venture for us; this is why we ask for donations to help InventGeek grow. We ask only that you help and support our efforts.
Related Posts


3 Comments
Thanks for this idea! Can you provide a link to the seller on ebay for the silver material with fabric backing? Cannot find it…
Thanks, Tena
Great idea! If you could find or make fabric that has silver on one side and white on ther other then you’re pretty much covered for most situations!
Hi can you reply with the link of cloth material used in reflector