
I have wanted to do this project for a while. But with all the feedback I have been getting lately about doing projects on the cheap rather than on the grandiose I have decided to do this project in 2 versions. A simple cheap version and a “what I envisioned version” that will come later in a 2.0 version. For now we will be modifying a simple USB based foam missile launcher base and an airsoft gun then blending them into a USB airsoft turret. So what’s this for then? Shooting the local office mullard, century turret for your home, or even pidgin control. These air soft guns shoot a plastic BB at up to 250 FPS and is powerful enough to leave some healthy welts on unsuspecting targets.
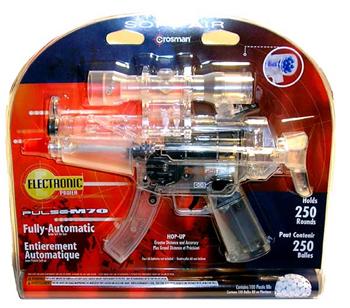
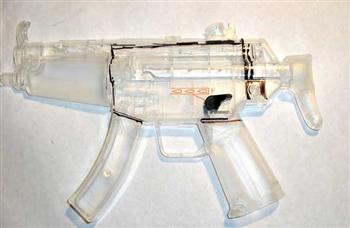
The Airsoft Gun:
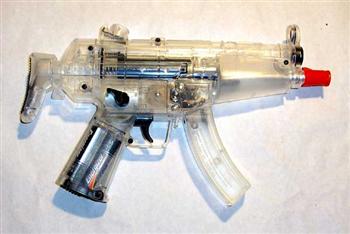
We picked this little beauty up at the local mega-lo-mart for about 19.00 USD. There are mainly 2 different types of airsoft guns, CO2 and Electric. Now don’t let the electric title sway you. This gun is capable of 350 rounds per minute at 175 FPS and runs on only 4 AA batteries (6 Volts DC) and is perfect for all the modifications we will need to do to it. Alternately if you wanted to use the CO2 Powered versions you would need to come up with a mechanical method of firing them.
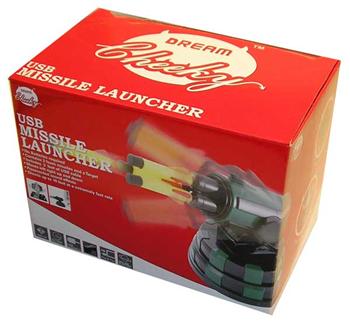
The Turret Base:
So this will be the brains of the operation. We picked this USB missile launcher up from thinkgeek.com for 40.00 USD. Basically we will be replacing the entire missile launching head from this with the airsoft guns guts.
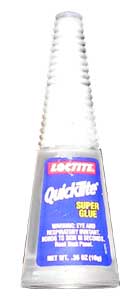
Super Glue:
Other than some basic tools this is the only thing we will be using for assembly. It’s quick, strong and long lasting. And it likes to react with the plastic for a good deep bond of plastics. At 2.00 a bottle for the good stuff is a fair deal. This would be equivalent to a medium cyanoacrylate for model builders.
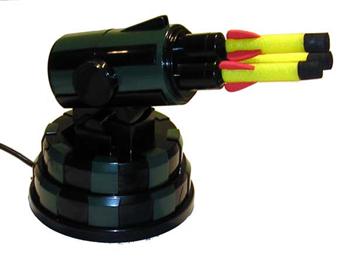
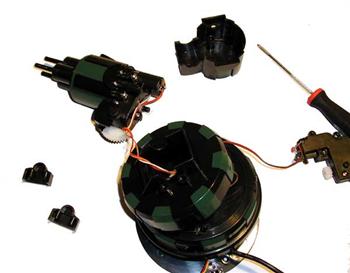
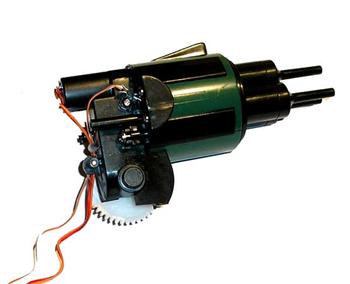
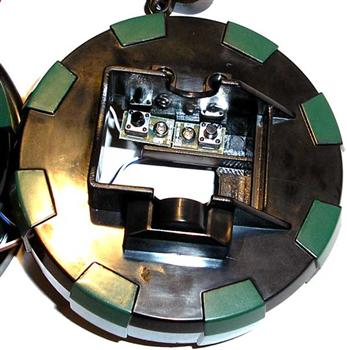
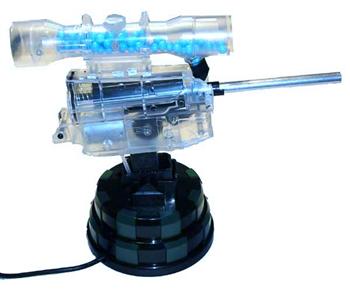
So here is our turret unboxed. It’s a fairly simple 3 function device consisting of up – down, left – Right, and fire – fired. so step one is to use a slightly maniacal laughter at the little foam “missiles” knowing what type of firepower this would be capable of when you’re done.
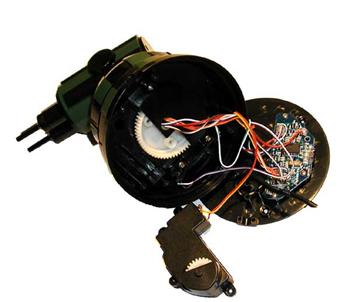
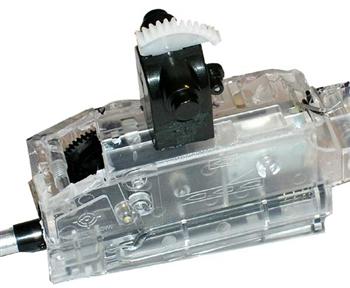
So step one of disassembly is to remove the bottom plate from the USB missile turret. There are 3 screws under the rubber feet that will allow you to gain access to its wire stroon innards. Once you have the unit open you will have to remove the motor module to expose the 3 screws in the large white gear holding the upper section to the lower.
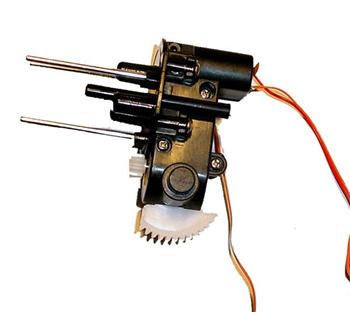
With the screws to the white gear removed you will have to remove the screws holding on the second motor module to the upper turret module to gain access to the screws holding the launcher in place.
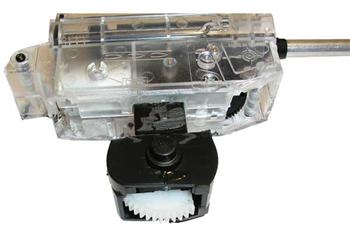
With the second motor module removed you can clearly see the 4 screws holding the launcher section to the upper portion of the turret.
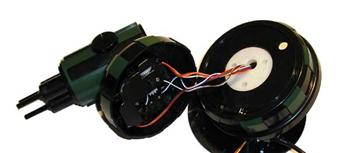
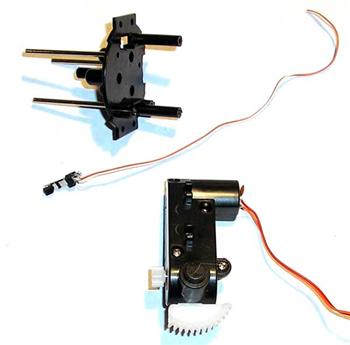
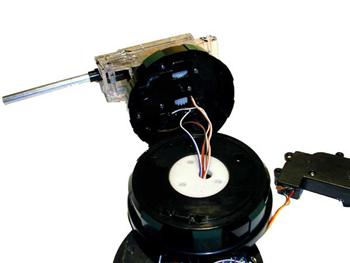
With the 4 screws removed you will have 2 mounting plates fall aside and the upper launcher will come loose. Don’t loose or misplace those 2 small mounting plates! Once you have freed the launcher cut the wires in the middle of their length so you can reattach them later. And set the turret base aside.
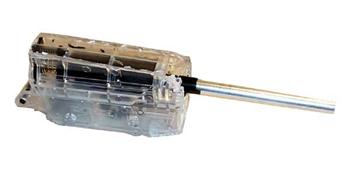
Next step is to remove the 2 screws in the back of the launcher to expose the motor for firing control and the wire leading to the sensor for firing.
Next up is to remove the 4 outer screws from the back plate to remove the internal mechanics of the launcher. The innards are under tension of 3 rather robust springs so when you pull the last screw out it will very likely self disassemble all over your work bench for you.
Next we will strip this all down a little more… pulling the spring retention clip off the front of the motor module as well as the firing sensor. Sets the sensor aside this will be vitally important for later steps. this project will not work without it.
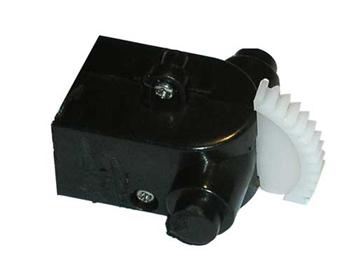
With the motor module isolated finally we will be cutting it in half. Remove any unnecessary gears on the inside of it with a little pressure from a screw driver. Finally throw the motor bits into that bucket, bin or box of assorted electronic parts you never seem to use. We will be connecting its power lead to the motor in the airsoft gun in a later step.
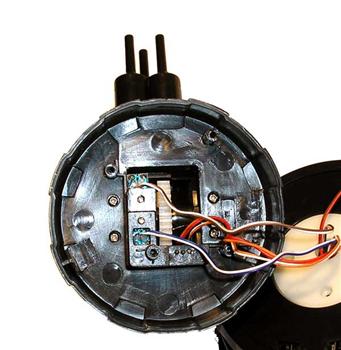
So this is a step where someone else doing this for you pays off in time and frustration savings. The bottom of the launcher module we will need to remove for our project here. There are 2 contact switches that it presses to indicate max movement up and down. This we will just glue to our lower hinge part we cut from the motor module later. One tip here is to mark the back section as the back to save work later.
This is just a quick reference shot of the switches for the max range of movement in the top of the turret.
Step one of this modification is to remove the airsoft gun from the packaging. This can be done with heavy metal shears, some form of laser beam or possibly a high power particle beam weapon. I really hate the tamper resistant packaging this comes in!
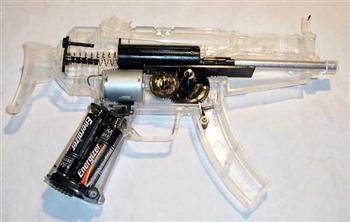
Next up we will be disassembling the airsoft gun. There are 8 screws that hold the 2 halves together. The innards are under tension from a large spring in the pneumatic cylinder of the airsoft gun. When you separate the gun halves expect it will energetically remove its self from the gun for you.
After careful examination of the shell we found a way to cut it down dramatically. To do this it’s important to make sure where any reinforcing walls and screws will need to be to hold the thing together once you’re done hacking it apart.
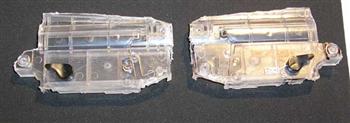
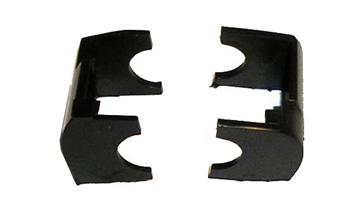
After some quality time with the dremal tool we were able to arrive at this end result. Two separate and matching halves of the gun creating a compact module now for our use. Fair warning though, it more melts than cuts, so watch for hot plastic.
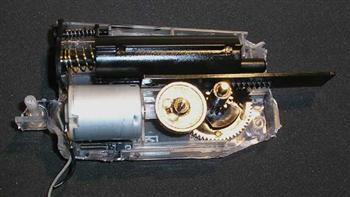
The next step is to start assembling the innards like they were prior to disassemble. This can be a tedious process with the spring loaded pneumatics but should not present too much of a problem overall. Make sure you have good enough leads from the motor at this point as you don’t what to redo this step.
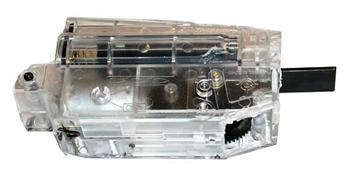
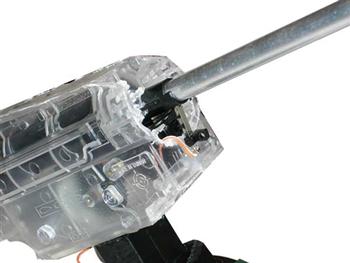
So here is the new firing module we have created. One special note here is the black tab we waited to modify this until the very last moment as it’s critical to the fire control sensor. The sensor detects when the gun has fired and send a kill signal to the USB controller to stop the firing motor. When you cut this black tab it must extend 1/8th of an inch out of the front of the housing so it can contact the sensor. Less than this will make it fire infinitely, and more than this will make it hit the sensor to hard and prematurely ware it out.
Finally take the barrel of the airsoft gun and insert it into the mounting bracket. In the original gun body it fit into a slot in the rear and the front of the gun loosely held it in place. We will need to use a shot of that super glue to make sure it stays put. The only challenge will be that if you get one drop of glue in the barrel at all it will likely permanently glue the pneumatic cylinder in place. So use great care when applying the glue on this step.
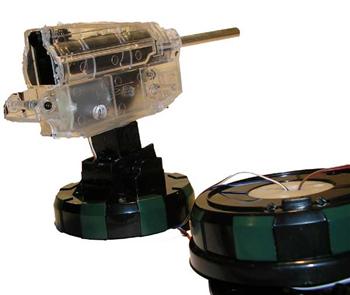
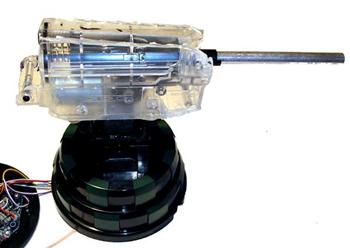
So we are finally going to merge the 2 modified projects together. Step one is to find the relative center of the turret balance wise. An easy way to do this is to balance it on a pencil. Mark the approximate place it balances and turn it over and center the turrets upper portion we saved. Take care to make sure it lines up straight left to right and then glue it in place with some super glue.
With the glue from the previous step mostly cured glue the bottom of the old turret to the new base we have created. If you followed instructions you will have marked and put the back facing part of this facing the back of the gun. This is critical for the max stop sensors to work with the turret.
Now we get to start putting it all together again. Using the 2 mounting brackets and screws attach the turret to the top half of the turret again. Before installing the motor module again make sure that it moves freely.
With the guns hinge moving freely reinstall fish 2 – 18″ wires threw the hole up to the gun up top is and down through the white gear portion so we can hook up power to the motor and fire sensor. next reinstall the motor module for the turrets upper part.
So now the hard work is done we just need to attach the upper half of the turret to the lower with the 3 screws on that white gear again. Then follow that up with installing the lower sections motor module again.
Next up we need to connect the wires we fished up to the gun to their respective parts. Install the fire control sensor to one set of wires and corresponding colors down below in on the circuit board. And do the same with the motor. It’s a good idea to make sure you get the polarity right on the motor so a test fire prior to screwing on the bottom is in good order.
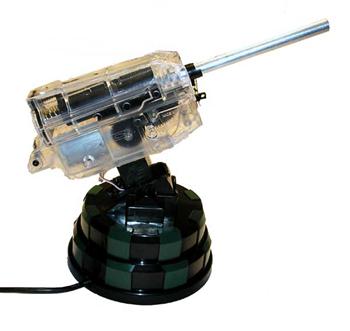
Here are a few more shots of the finished project. We will need to add the hopper to the gun, but this is real66ly easy using the existing one the gun came with and a drop of superglue to hold it on.
So version 1.0 is done. If you wanted to have a little more fun with this I would recommend a webcam on the front of this as well a small cheap laser pointer for targeting. But as this project is being done on the cheap explicitly that may push the budget too much.


