
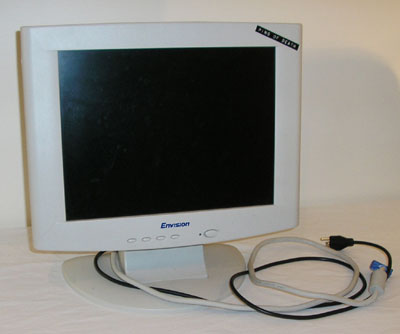
So there is no hiding the fact that I have been interested in ultraviolet light lately. I also have a few dead LCD monitors laying around I have been experimenting with. It was only natural that I would combine the two to help show off my fluorescing rock collection. This is a really easy build and cheap as well if you have a dead monitor laying around. The best part is the older the monitor the worse the viewing angle, and that works out real well for us making the light highly directional.
I have collected samples of floressing rocks for a few years now due to there unique bueity and rareness. while for my use this works out well, you can use this for lots of diffrent things including counterfit detection and even a great project for kids sending “secret letters” to each other.
The Monitor:
For this build we will want just the light panel in the monitor. Everything else can be set aside for future projects. The older the monitor, the better for this project as the older monitors have worse viewing angles. This affords us the ability to have a large thin panel of directional light.

The New Backlight:
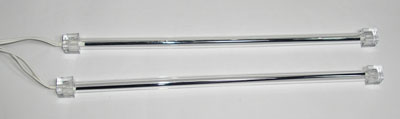
For the light source we will need for this project we visited our old friends (why don’t you call anymore?) over at Xoxide.com. Assuming that your using a typical 15″ monitor you will want one of their 2 bulb kit that will set you back about $6.00
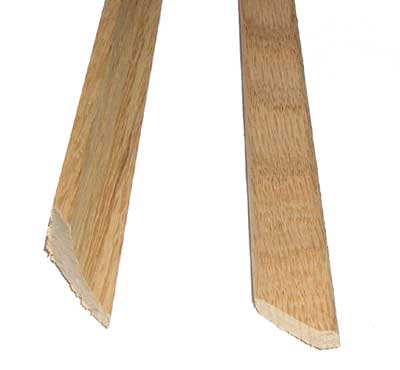
Some Trim:
Depending on how and where you want to mount your UV panel when you’re done building it you may want to make it a little more pretty. I picked up a few feet of 2 different trim pieces our local hardware store just to give it a little polish.
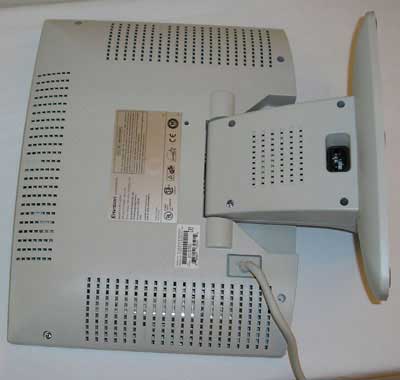
To start our build we will need to get to some of the parts we will need. First of all we will be tearing apart a monitor. The process will be summarized here but you can see our other articles for more detailed breakdowns. To start our deconstruction we will be removing the outer shell and pedestal to expose and remove the internal frame. Save any parts you may be interested in for future projects. If the LCD is still functional you can build a basic projector out of it.
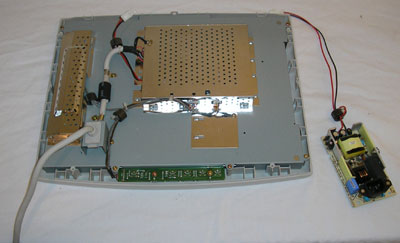
With the back casing removed you will usually find a few modules. Power supply, LCD Driver, some sort of controls for the display, and finally the cold cathode tubes in the panel and the inverter for it. We will be discarding the whole of it for this project, but its especially important to point out that as with almost all florescent tubes they will contain mercury and mercury vapor. This is super dangerous and doubly so if you have kids in the house. Dispose of with great care.
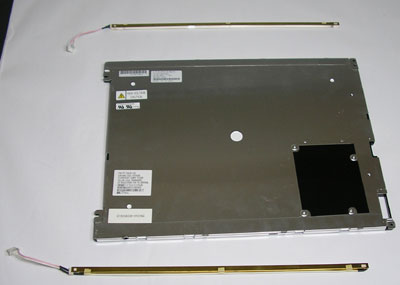
With most monitors you will either have a tube in the bottom and top, or 2 in the bottom. The lcd and backlight will be contained in a metal frame. To safely disassemble it remove the tube. The tubes will be contained in some form of a reflector, this needs to be saved for reuse.
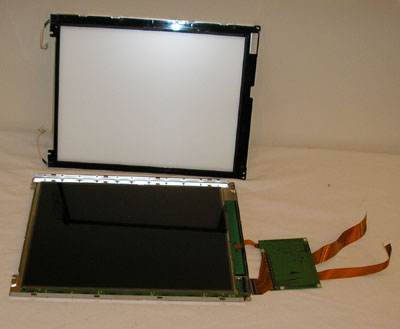
Here we arrive at our end goal. The lcd panel is removed from the frame. Some panels will not stay together well with the frame that held the LCD panel removed. Ultimately this is easily fixed by removing the lcd and reassembling the panel.
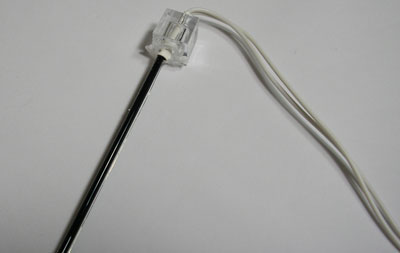
Now we get to the removal of the tubes and mod of them. If you are feeling a bit enterprising you may want to save the tubes from the frames and sell them on eBay if they still work. I get about 20 emails a week with people trying to get new tubes from reading our other articles. That aside make sure you save the reflectors.
Disassembly of the tubes is a rather straight forward process if not a very delicate one. The tubes sit inside of a acrylic tube caped at both ends. I have heard that using a soldering iron can melt / cut the tube apart while making a lot of toxic smoke as a byproduct.
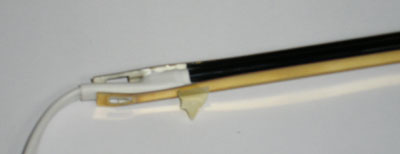
With the tube removed you will need to insulate the ground wire that runs exposed on the outside of the tube. A simple strip of clear tape is more than sufficient to insulate it. That aside, place the tube into the reflector and use a drop or 2 of hot glue to hold it in place.
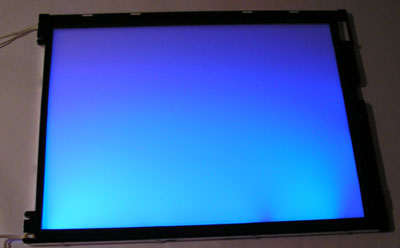
With the tubes reassembled in the reflectors we wanted to do a test to see if it worked. Sure enough it worked as well as we had hoped! The camera really picks up on the blues in the screen and you can see the gradient of the monitors viewing angle to. When the screen is on its not very bright at all.
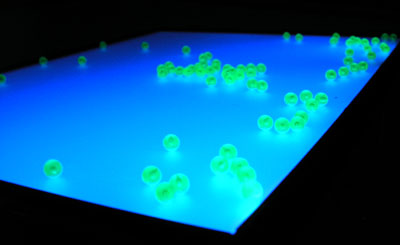
So now I started testing this with some air soft ammo I had laying around that I knew reacted well to UV light. I show this pic with the lights off and you can see the camera really picked up the blues in the panel and made them a lot brighter than it really is.
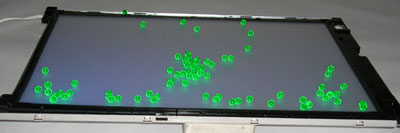
Here is a picture of the panel with the lights on and a more natural angle. You can hardly see the colors in the UV in the panel. Now we just need to make it look nicer.
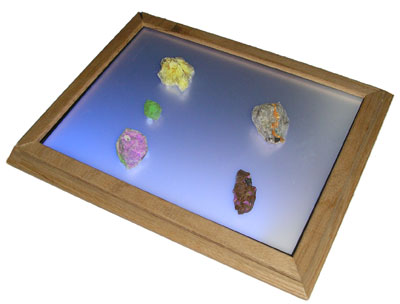
Summary / End Results:
After doing some really basic work with some trim on the panel and extending the cable to the inverter a touch so it’s closer to the wall wart this is where we ended up. I found a bunch of my more translucent specimens from my rock collection that I knew would fluoresce well. The colors are great! And the panel really looks nice on my desk.


