Overview:
This project is the next in a series of DIY Photography Studio Equipment projects we are doing to improve the quality of the imagery on our site as well as in preparation for the launch of our new sister site dedicated to photography equipment projects. The next major component I needed was a few good quality reflective umbrellas. Reflective umbrellas are extremely useful with shooting both large and smaller items, and while we are making a reflective umbrella with a silver finish its worth noting you can use copper, bronze, gold, etc finished metallic materials or even translucent materials for different effects within the same rough project cost.
Commercially these umbrellas can range in cost from $35 – $80 USD for a 42” umbrella. And in my opinion that is to high of a price tag for any self respecting DIY enthusiast. So after a little research and some trial and error we were able to do our umbrella with the same quality materials for only $13.00 with very simple construction techniques that any photogeek should be able to replicate.
Here is a quick video overview of the reflective photography umbrella project with the simple setup and stand we are using for lighting.
Metalic Fabric:
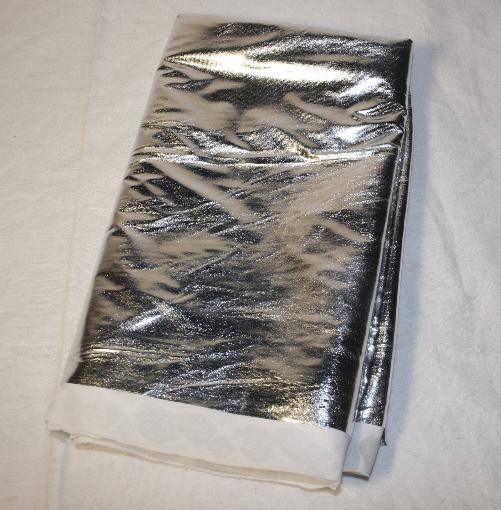
Finally we will be using a shiny metallic fabric in this project as well as others in our photography project line. This is not to be confused with a metallic or shiny fabric like silk or sequins. We are looking for a very bright finish on the material. I picked mine up from ebay for 4.00 a yard. The material I used has a nylon backing that is 44” wide… the metallic coating is only 42” wide. So be careful to ask clarifying questions as needed.
The Umbrella:
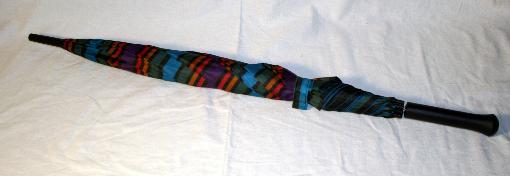
Not just any umbrella will do for this project; in fact there is only one style of umbrella that will work with our project. What you are looking for is an old school long or cane style umbrella. The modern super compact umbrellas will not work for this project, though it’s worth noting that it needs some more experimentation. We picked up this 42” umbrella from our local big box mart for 6.00 and that seems to be the base entry price for a descent umbrella for that style.
Heavy Cotton String:
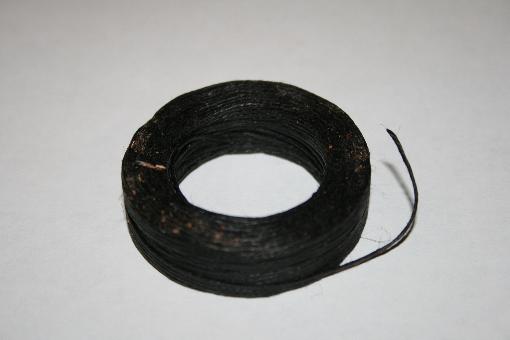
The final but definitely not to be skimped on component of our project build is a small spool of a heavy cotton string. We did some experimentation for heat resistance and just general use and the cotton string holds up the best for our application here. We picked this up at our local big box mart again for 1.00 and this string is used for sewing leather generally.
Step one is getting to know your umbrella. Each umbrella will have some clips or strings holding the fabric to the frame of the umbrella, some sort of tips for each wire that attaches to the fabric as well and a cap on the top of the umbrella that will need to be noted and carefully removed.
On this particular umbrella (and I assume most from looking at their construction) the cap is pressure fit onto the top. This I found easy to remove with a set of pliers and a few good taps from a hammer on the pliers once I was clamped down. Alternately if you feel comfortable with a dremal tool you can carefully cut it off as well.
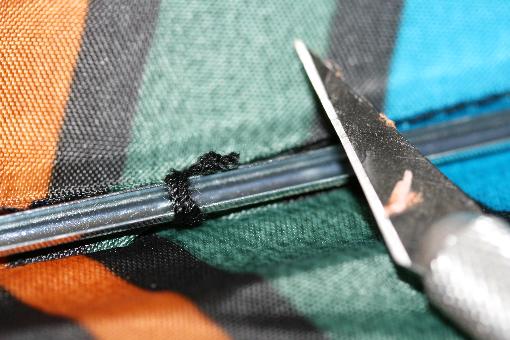
Here we have an example of some of those strings tying the fabric to the frame. For our disassembly we are doing 2 things with these, marking them so we can retie them with the new material and cutting them for disassembly.
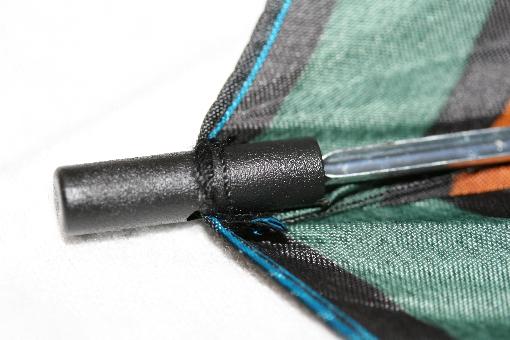
Here we have the tip caps on our umbrella. Most umbrellas have plastic tips now that make our job here easy. To remove the tip we simply pull it off the wire end. Then using your razor we will cut the string securing the tip to the fabric. As there is one in each corner marking them is not necessary.
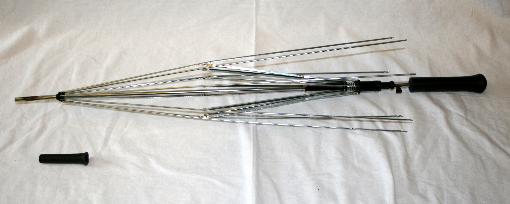
Here we have the bare skeleton of the umbrella fully exposed. You can see that the main support wires the material attaches to is about the same length as the umbrella.
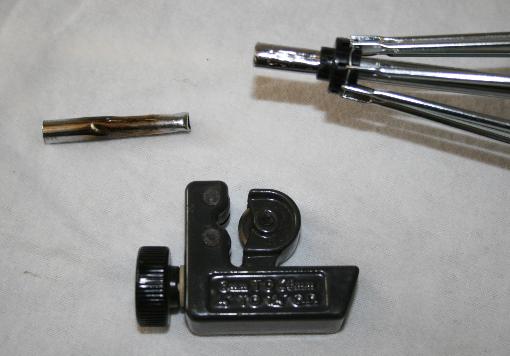
So step one in our construction process is optional, but I feel it’s more practical than not both for safety and storage. We used a small pipe cutter to shorten the length of the tip of the umbrella as we won’t need it for our project. Alternately a hacksaw would work as well if you are careful.
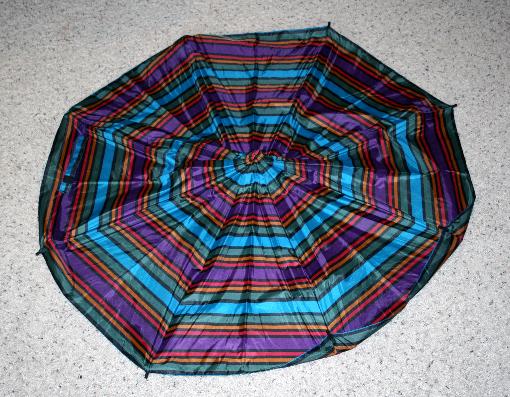
Here we have the original fabric for our umbrella that we are replacing. For this design style they used 8 panels of fabric to create the nice round look to it. After looking at this I realized I could simplify the sewing and assembly of the project easily.
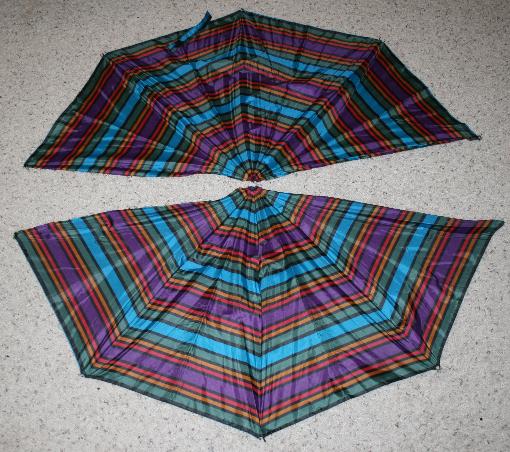
So using a razor blade and some patience I separated 2 half’s of the fabric down the center seam to create a simple pattern to cut out in our new material.
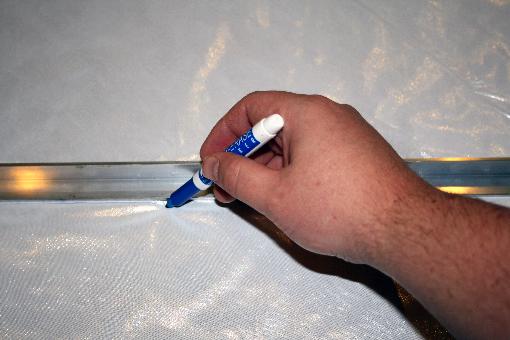
The easiest way I found to trace the pattern to the new material was to simply mark with dots the tips of each corner and use a straight edge to mark up the lines. Make sure you also do the connecting lines between the center point and each tip so you can align the wires once all assembled.
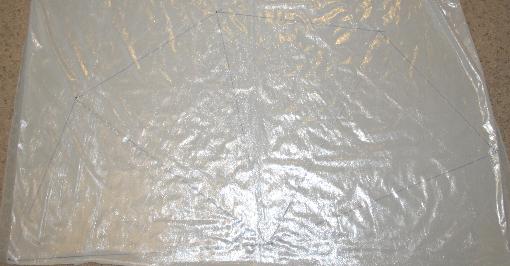
Hard to see… but here you can see the traced patterns as described that we will be cutting out.
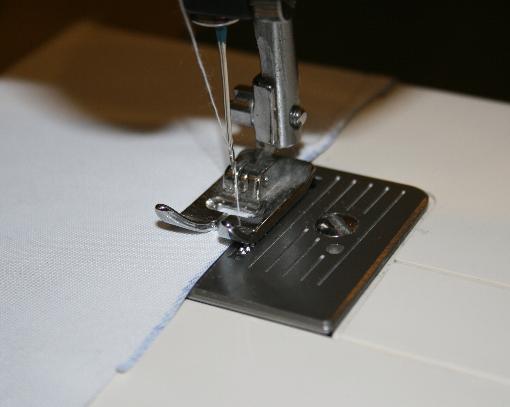
So if you are following our simple pattern you will now have to sew the two half’s of the project together. This is some of the simplest sewing you can do basically 2 straight lines so there’s nothing complicated about it.
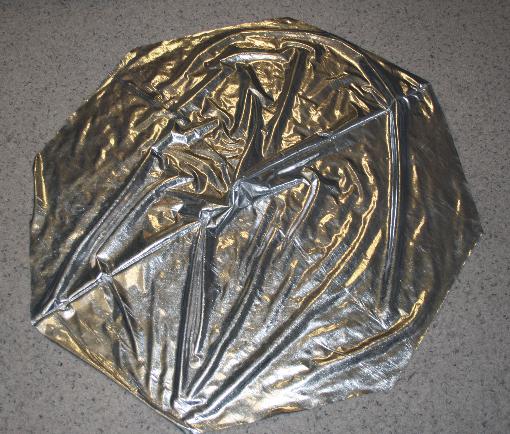
Here we have our finished fabric panel for the umbrella reflector. Make sure when you start to assemble this you think with the shiny side inside the umbrella. Additionally before you start to attach it to the umbrella frame make sure you attach the tips at the corners.
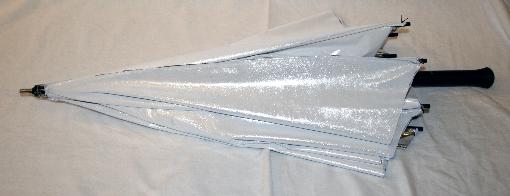
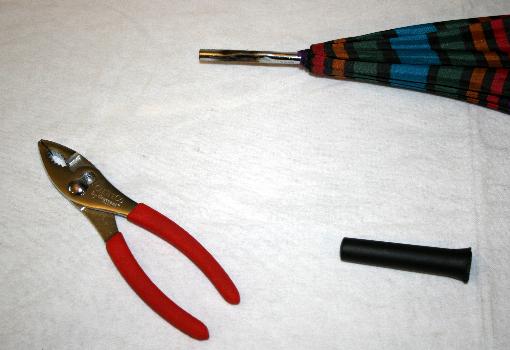
Here we have the assembled umbrella collapsed. Now with the umbrella done its time to remove the handle. Why do you want to wait to remove it? It’s actually really nice to hold on to and not get jabbed in the face while you hand sew the little loops attaching the fabric to the frame.
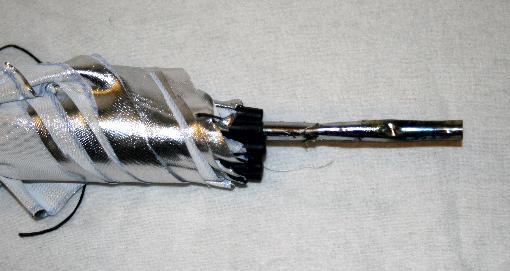
Using a dremal tool you will want to make 2 long cuts down the length of the handle on opposing sides. Once you have made the cuts use a flat head screw driver to pry the sections apart.
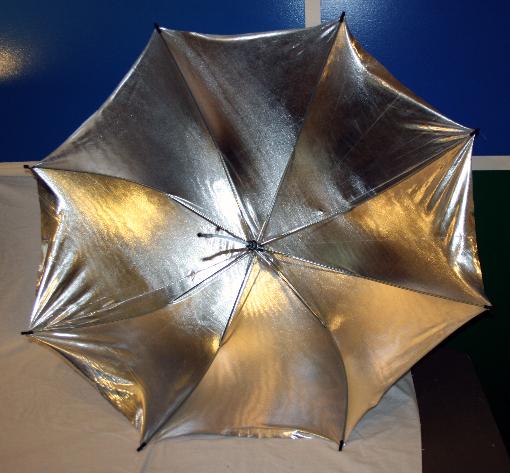
Finally open the umbrella and inspect it for alignment. You can see the center pole is bent in this shot. This is how they keep it from sliding off the handle it seems. Carefully bend it back straight and your reflector umbrella is done!
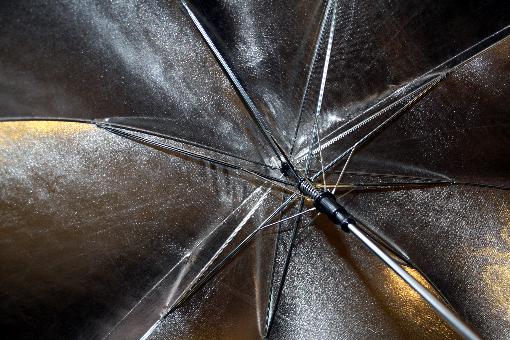
So now its time for some close up shots of the umbrella. You can see here the center of the umbrellas wire structure.
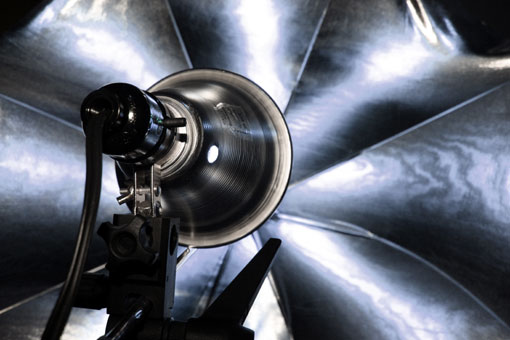
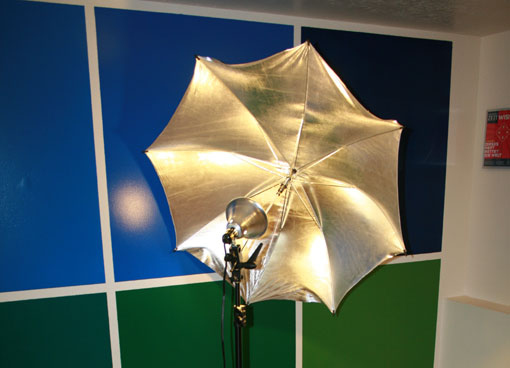
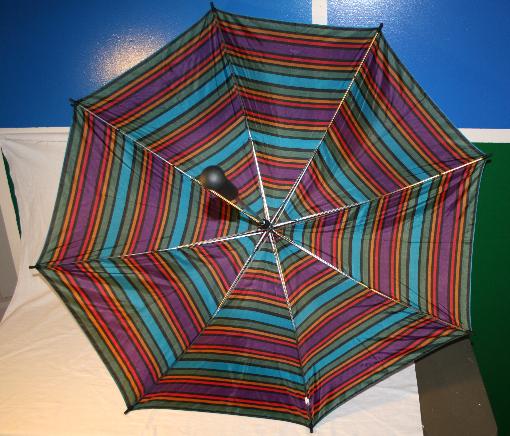
Here you can see the general reflective pattern of the umbrella with a basic can light attached.

So here is the finished lighting rig. There are 4 major components. The reflective umbrella, the stand, the light and finally the clamp for our lighting rig. This all can be purchased on the cheap also. The can we picked up at our local home improvement store for 5.00. The stand we picked up from ebay as a light duty photography stand for 10.00 and our clamp / mount from the same vendor for 5.00. So for 33.00 we were able to get our self’s a complete lighting rig with a little effort and some price shopping. Not a bad deal by any measure!
So… what do you think of this article? All InventGeek projects are funded out of pocket and we do our best to freely share what we have learned so you can do your own experiments and build on our work. This can sometime be a costly venture for us; this is why we ask for donations to help InventGeek grow. We ask only that you help and support our efforts.


