Overview:
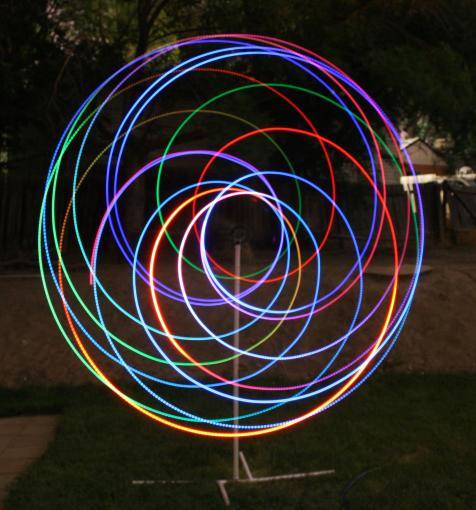
This project has become one of my all time favorite projects. I have had a love for Long Exposure photography for a long time and I deeply enjoy engaging in the art. But for me Long Exposure photography can start to feel very static and I felt like I wanted to build my own dynamic sculptures to shoot. After thinking about what I wanted to build for an afternoon I put myself to work building a simple device that would produce interesting and engaging designs. I hope that from the image above you can see my effort was a success!
Ultimately the most rewarding thing for me about this project is sharing it with the world. This is a very easy to construct project and very affordable on many budgets due to the flexibility in its design. We hope you enjoy this article.

PVC Pipe and Fittings:
For this project I wanted to focus on budget being a priority and ultimately that drove my choice to use PVC for this build. PVC Pipe is available at any home improvement store and is very inexpensive. We used 3 one inch “T” fittings and roughly 14 feet of PVC pipe to create the basic frame we built. This cost us 5.00
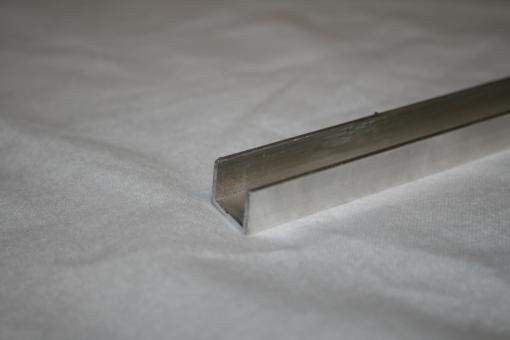
Aluminum Main Arm:
For the main arm on our Light Sculpture we used one half inch aluminum “U” Channel due to its strength, rigidity and its light weight. This cost us 5.00 for 1 four foot length.
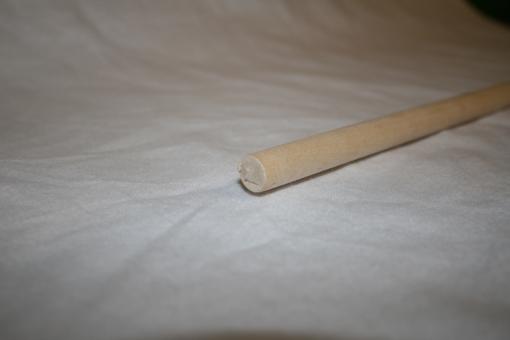
Wood Secondary Arm:
For our secondary arm we are using a one half inch pine wood dowel at 36 inches long. Pine or any other light material with good rigidity will work well as a secondary arm. Cost 1.00

Geared Motors:
For this project we will need to use a couple Geared motors. Geared motors provide us with 2 highly beneficial features, the move slowly and depending on the gear ratios you can get a good deal of torque out of them to move a heavy load. It is ideal to use a smaller gear motor to power the second arm to reduce the amount of counter weights needed on this light frame. Est Cost Free – 20.00
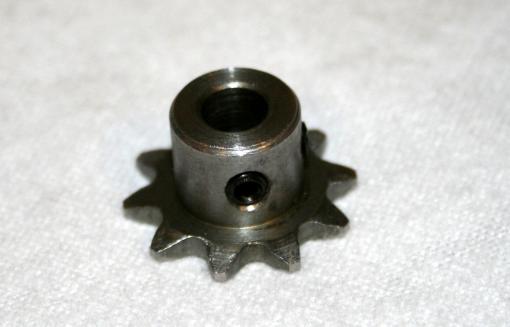
Sprocket:
To create a simple and strong connection to the aluminum arm we will be using a sprocket that is compatible with the drive shaft of our motor. It is a good idea to use a sprocket with an even number of teeth for this if possible
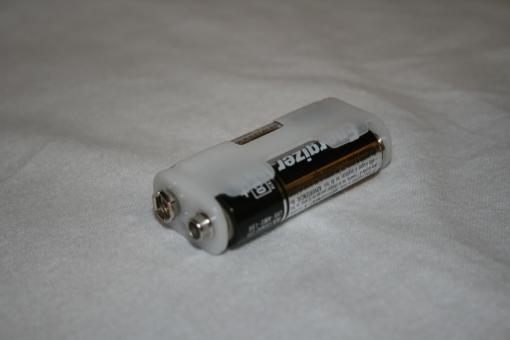
Battery Packs:
For this project I chose to use two battery packs for the motors, a 2 and a 4 battery style pack with standard 9v connectors on them for easy replacement. Both packs I picked up at our local over priced electronic supply vendor for 6.00 total.
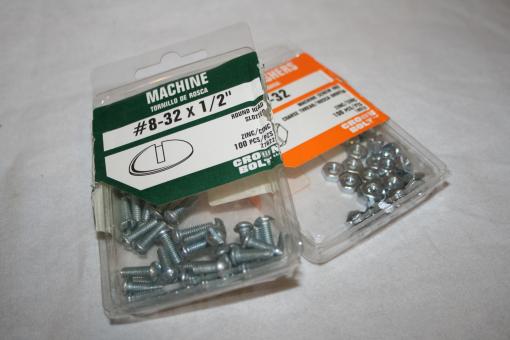
Screws:
For this project we will be connecting the sprocket to our aluminum arm with a couple ½ inch long 8-32 screws and nuts. Est cost .50
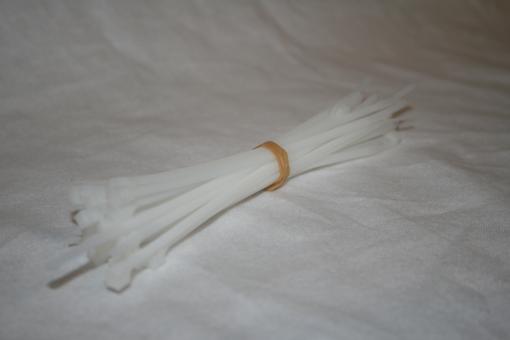
Zip Ties:
The majority of the connection points in this build will be fastened with zip ties. We chose to use zipties because they are cheap, easy to fasten and easy to remove so we can reconfigure the design this produces with ease. Est Cost 1.00

LED’s:
For this project we will be using some standard 5mm leds. The colors are your choice but I highly recommend using some RGB Fading LED’s for a great effect! Est Cost 3.00-5.00
Ping Pong Balls (optional):
So the final part we used in some of our shots are simple ping pong balls. These simply help to defuse the light of the led so that if the LED is not pointed at the camera it is still visible. This is good for 3D configurations. Est cost 1.00
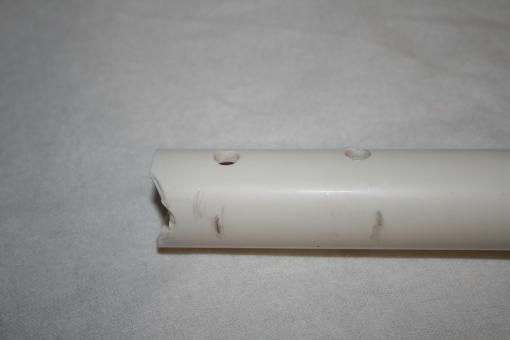
Step one is to modify the top of our upright pole. To do this we used some cutters to make a notch the and then drilled 2 holes a inch from the top and an inch below that for zip tie mounting points.
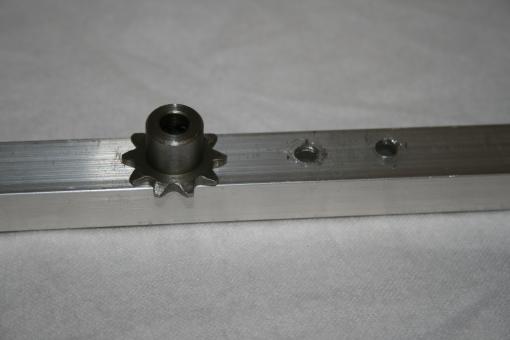
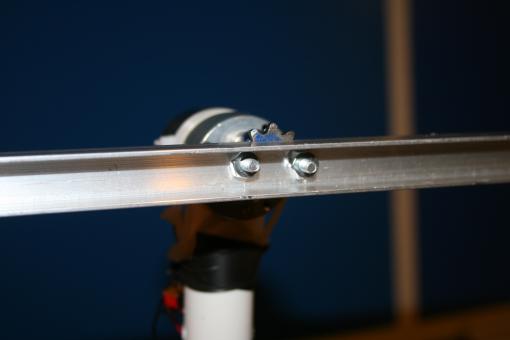
Next we will find the center of our aluminum U channel pipe and using our sprocket as a guide drill 2 holes for our screws.
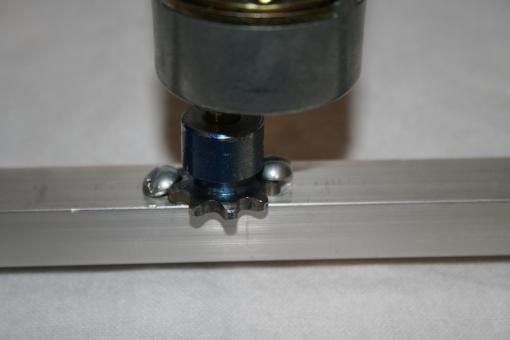
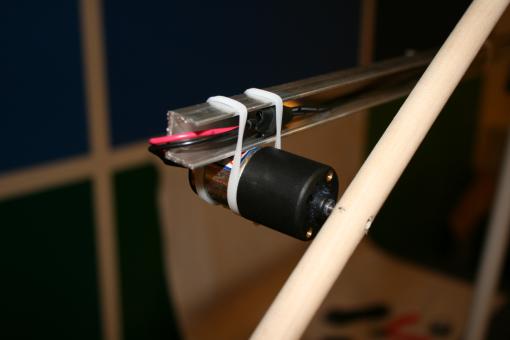
Here we have the sprocket mounted to the aluminum main arm and the motor attached for a test fit for clearances.
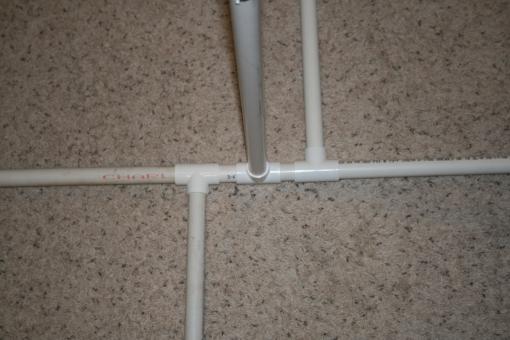
Now its time to start assembling our components. Here we can see how the frames base is assembled using the 3 T fittings.
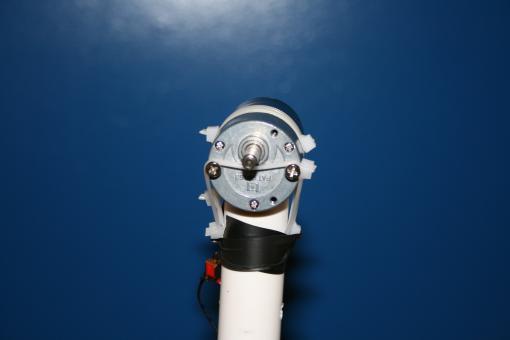
Next we will mount the main drive motor (without the arm to make our lives easier) to the top of the upright. I used 2 screws in this model of motor to create a strong mounting point.
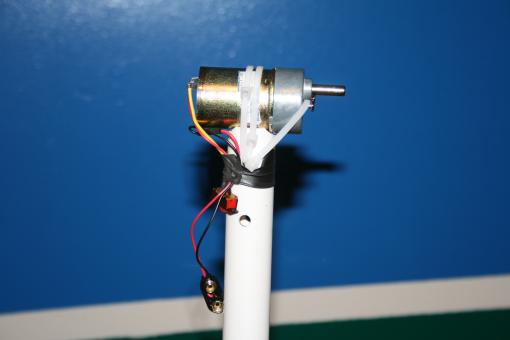
Here we can see the side view of the motor mount with the zip ties holding it in place. We added a switch inline and taped it to the pipe with some electrical tape so we have an easy way of starting and stopping the setup.
The next step is to attach the sprocket with arm to the motor. Most sprockets use a simple Alan wrench to tighten a screw that holds the motor in place. Make this screw is tight to prevent any damage to the motor.
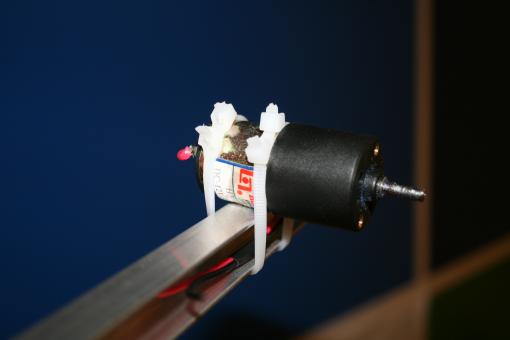
Here we have the second arms drive motor attached to end of the first arm. The wires conveniently fit inside the u channel keeping them out of the way.

The second drive motors battery pack is mounted in the center of the primary arm to help keep the setup balanced as well as to reduce the amount of counter weights used for this build. You are welcome to power your build however you want, but one tip to take away is the more weight at the ends of the arms the more counter weights you needs. The total overall weight will determine your power needs and battery life.
Here we have some aluminum blocks I had laying around that I used as the counter weight for my build. It’s a good practice to have it as balanced as possible to maintain stability and create clean geometry in the time laps shots.
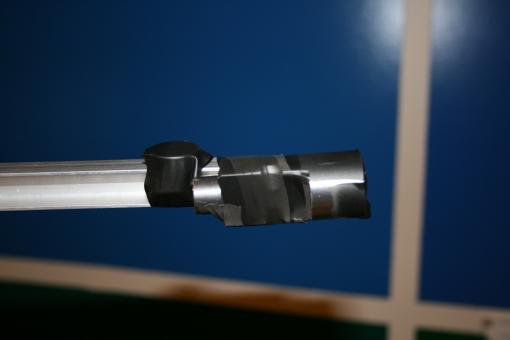
To attach our dowel to the drive shaft of the second motor we simply drilled a hole slightly smaller than the drive shaft on the motor and then pressed the dowel onto the shaft. This provides a surprisingly strong result.
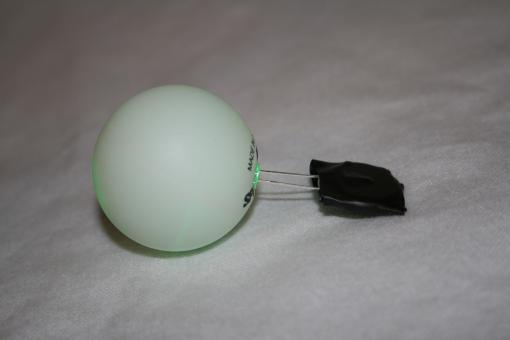
Here is an example of some of our leds we used for our shots. We simply taped a battery onto the led and poked a hole in the ping pong ball with a small screw driver to press the led into the ball.
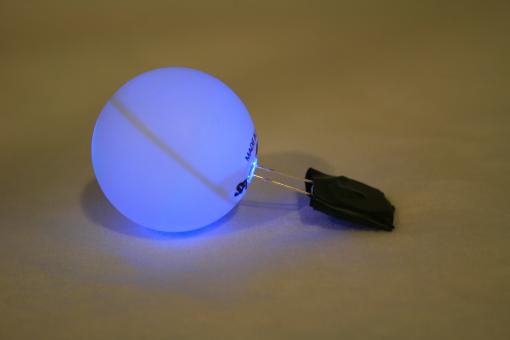
Here you can easily see how the ball evenly defuses the light all the way around it.
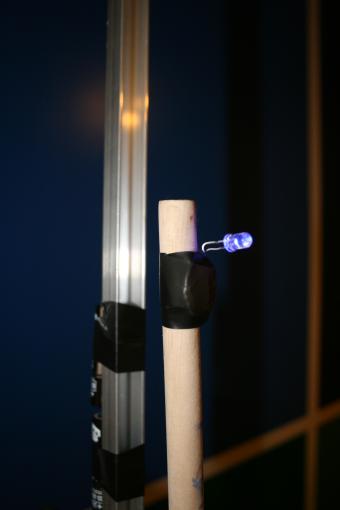
And finally for those who need a little more instruction… we taped the LED’s to the end(s) of the second arm.
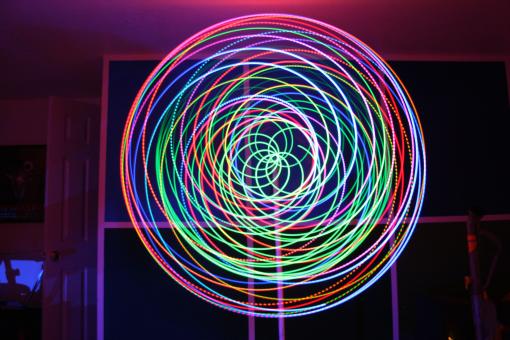
Here are some great shots of what this will do. This was shot with a 30 second exposure in my office using 2 RGB fading LED’s and the second arm half way in the middle of the primary arm to produce a tight pattern.
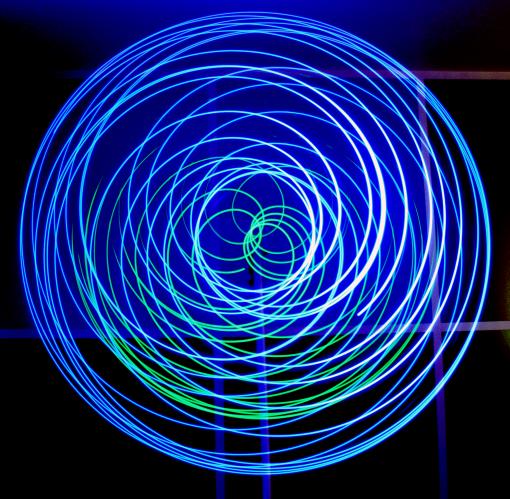
This was shot with a 30 second exposure in my office using a blue and a green LED with the second arm half way in the middle of the primary arm to produce a tight pattern.
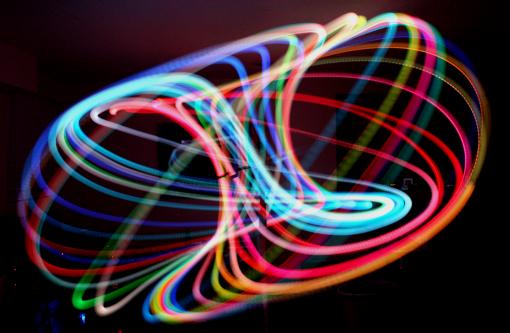
Here we have a different setup with the main motor mounted vertically and the second arms motor mounted at 90 degrees out to create this awesome 3D torus floating in space
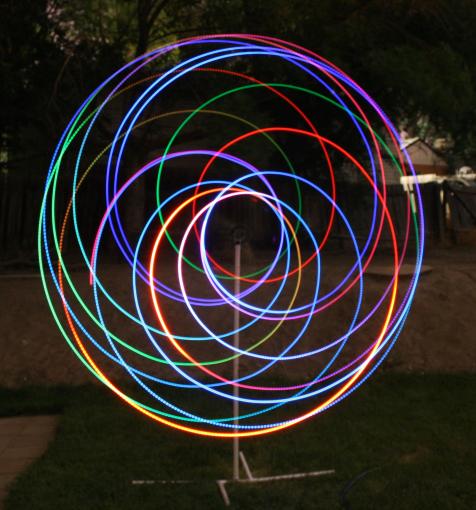
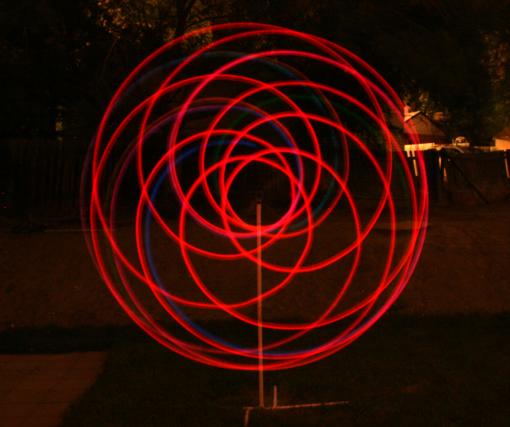
This is my favorite shot taken at midnight in my back yard. This was shot with a 30 second exposure using a single RGB LED with the second arms motor at the end of the primary arms end to produce a large clean pattern.
Here is a failed shot as an example for you to learn from my trial and error. When setting up the shot pay close attention to your cameras white balance settings… its still cool looking though!
So… what do you think of this article? All InventGeek projects are funded out of pocket and we do our best to freely share what we have learned so you can do your own experiments and build on our work. This can sometime be a costly venture for us; this is why we ask for donations to help InventGeek grow. We ask only that you help and support our efforts.


