For some reason I felt like taking a lot of risks this summer and I was spending a lot of time in dried up lake beds. So I started fooling around with building my own kite karts. Basically a kite cart is a strange cross between a go cart and a large parafoil kite. With a wide stance and being low to the ground it’s really a rush to get this thing moving. Now this design I did with a couple purposes in mind so that it can also double easily as a sail kart as well. With no angle cuts or pipe bends this is the simplest design I could come up with.
The Seat:
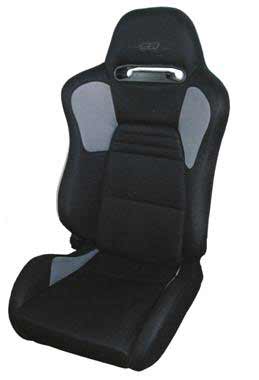
So for this project I reused an extra racing seat I had from a set I got to put together the force feedback racing simulator project. The nice thing about these racing seats is they are surprisingly light weight. A bucket style seat will cost about 50.00 USD. There are also formed plastic gokart seats that would work equally as well but cost about the same to a little more.
Steel:
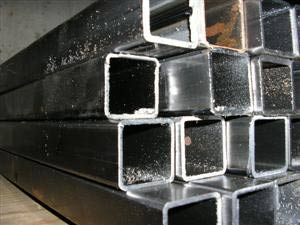
For this project we used some simple 1X square tube I had laying around. One nice thing about this project is its as simple as possible for new builders by making this without any angled cuts.
Cut List:
1 – 6 ft length
1 – 4 ft length
1 – 5 ft length
2 – 1 ft length
1 – 3 inch length
Tires:
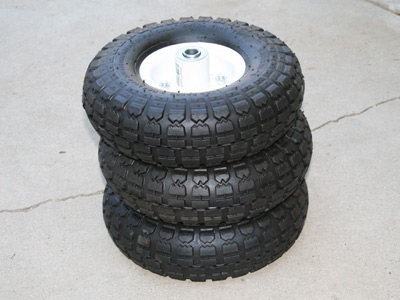
The tires for this project we picked up on sale at harbor freight for 4.00 USD each. These are simple 10 inch pneumatic tires with a knobby tread. As I am using this in a salt flat type scenario I would have picked up smooth tires if they were cost effective.
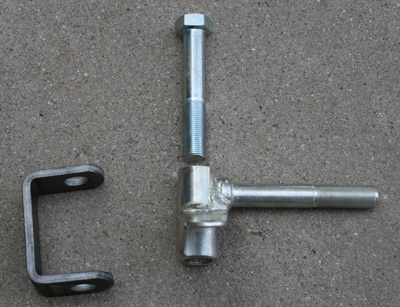
Steering:
I picked up a set of brackets for go-cart steering from eBay for this project. I had to modify them slightly to get the optimal steering rotation out of them I wanted. But as a set of them set me back only 25.00 USD it really was worth the time savings.

The Kite:
The kite I picked out for this project is a beginner 2 meter parafoil style kite by slingshot. I have to admit I really love this kite. It has a great power capability in moderate wind and scares the hell out of me in high wind. Like I said though, this is a “beginner” kite. They make lots bigger ones for sure!
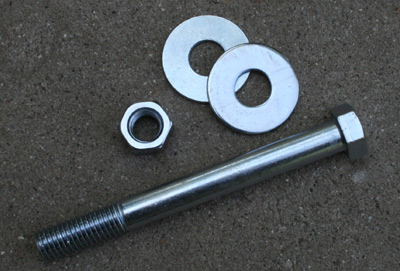
Nuts and Bolts:
The easiest way to make the free spinning axels for out rear tires was to get some 8 inch long bolts and washers that matched the inner diameter of the barring in wheels we picked up and cut off the heads. Then we took the bolt shafts and welded them into the ends of the tubes.

So step one in our fabrication of this system was to get some high grade bolts and cut the heads off of them. I set my band saw up to cut this as I set up the rest of the project due to the time it can take to cut through high grade steel.
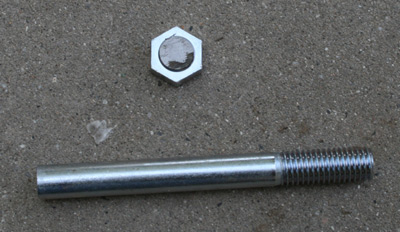
Here is the result of our cutting. One tip I have is to thread the nut onto the bolt for cutting. This does two things; it protects the threads of the bolt from damage from the vice and also keeps everything square during the cut.
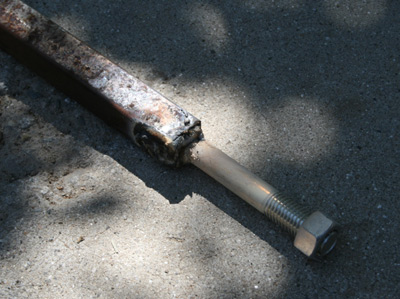
So here is our overkill welding. I drilled a hole in the middle of the length of the bolt in the pipe so I could build a plug of steel up for some added strength and then welded the hell out of it. I chose to use a gasless wire as it gets a slightly deeper weld but creates a lot of spatter.
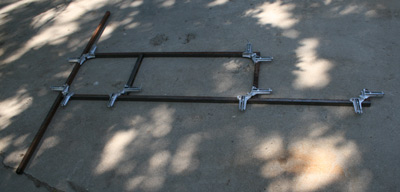
Here is the frame all clamped together. As you can see the construction is extremely simple and makes the welding simple as well.

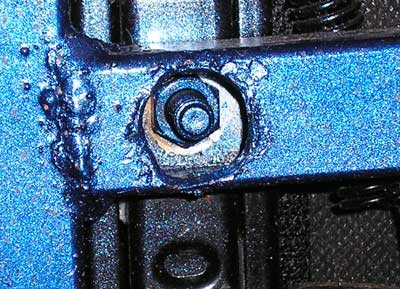
This is the front hub for steering close up. There is a 3 inch piece between it and the frame to insure the tire won’t rub if you turn to the left. Depending on the size of tire you may want to make this longer, but I wouldn’t recommend exceeding 6 inches for structural concerns.
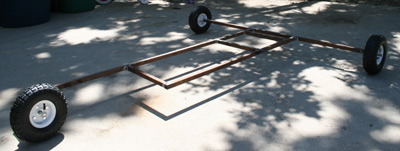
So here is a quick trial fit of the kart after the welding was finished. At this point I wanted to do a test and stand on it to make sure it was sturdy. It stood up to all that I could punish it with even getting a few people on it at a time. At this point I realized my tires were low and I inflated them a little more than the recommended pressure.
So next up is the paintjob for the frame. I used one primer coat of white, 2 coats of blue with sparkles and then 2 coats of clear coat overall and 4 coats of clear where it would get stepped on frequently.
With the frame dried overnight to make sure the finish was strong I installed the seats. The bolts from the seat adjustment (yes I installed the slides) were too short to fit through the frame and get a bolt on them so I drilled out larger holes so I could counter sink the nuts into the frame. This makes it look sleek. Make sure you paint any exposed metal you have to prevent rust.

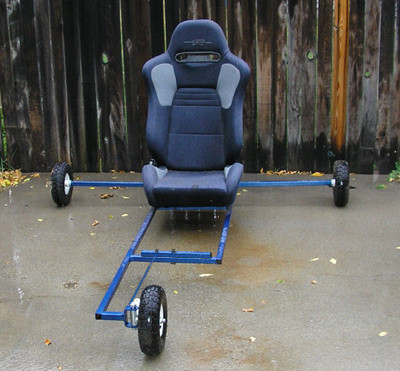
Here is what the kart looked like with the seat installed. The only drawback I found is that this is very large to store and transport so the cloth seats may get a plastic cover soon to make them weather resistant.
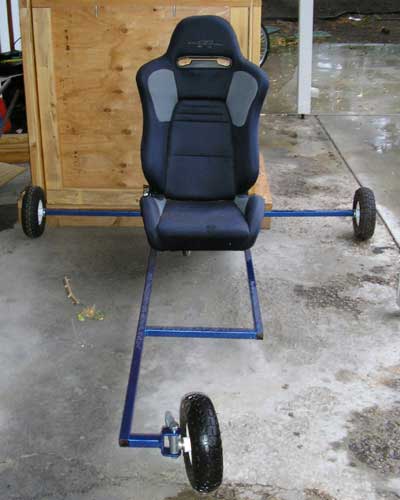
Here we have the final steering bar and control arm installed. The kite kart is a unusual experience at first because your extremities are fully involved with piloting it. You use your arms to control the kite and your feet to steer. There is no break on this system because you can just turn the kart 90 degrees to the wind and coast to a stop easily.
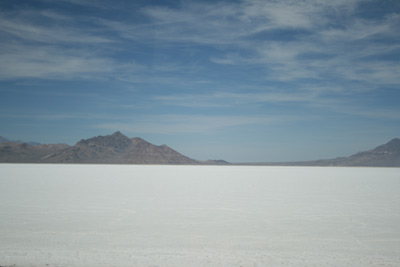
Our day at the salt flats was exciting and dangerous. One thing I didn’t think about was a double nut on the rear wheels. I was piloting the maiden voyage of this kart and was being followed with a friend’s truck and the rear tire fell off. The wide stance prevented it from rolling over but it scared the hell out of me and it took us a half hour to track the kite down and get back. While I was only moving along at 15 MPH being so close to the ground alters your perception of speed a lot. Luckily I had two of these and we barrowed the nuts off of the second kart to make one safe kart between the 2 of them.
So I learned a lot in the project and it’s a fairly safe and simple initial design. In future versions we will have a lot more angled cuts, some form of dampening system to make the road less bumpy and I need to solve a conflict between seatbelts, harnesses and kite tethers… lucky for you all I am experimenting with this stuff so you can learn from it!


