
I did this as a fun project for a friend for the element 11 festival in Utah this spring. They turned out so wonderful that I had to write them up for all of you. This really makes a great Halloween costume and if you have little ones it makes it really easy to see where they are. EL Wire rocks!
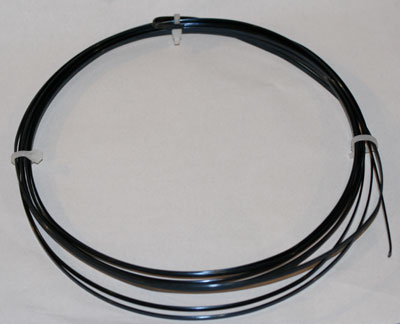
The El Wire:
For our project we used 3 colors of 2.5mm high brightness EL Wire. We picked out lime green, blue, and pink for our colors. El Wire comes in many colors and sizes now. Make sure the size you pick out and the length you need will have a cordless driver for it or you will be sunk.
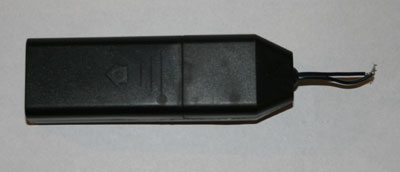
The Wl Wire Driver:
Most places that sell el wire recommend various drivers that have the length of EL Wire its likely to drive well marked on it. We use 3 simple AA battery based units for this project. One for the outer lower wings, one for the outer upper wings and one for all the inner wing segments. They worked out very well for us in this arangment!
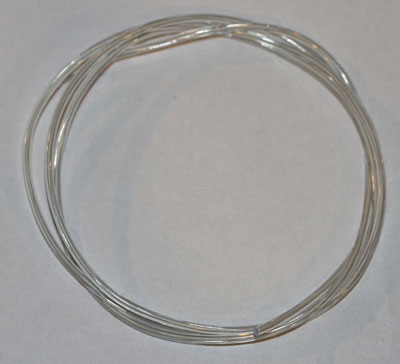
Fish Tape:
We picked up a 50ft fish tape refill from our home improvement center to attach the EL Wire to. This is a very cheap way to create great shape that will hold its shape extremely well.
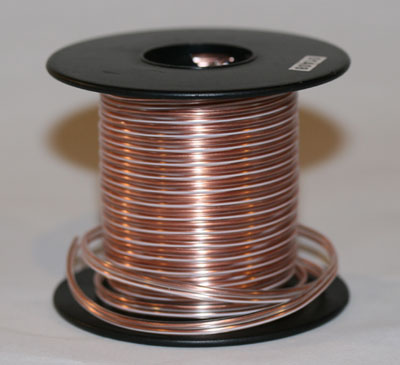
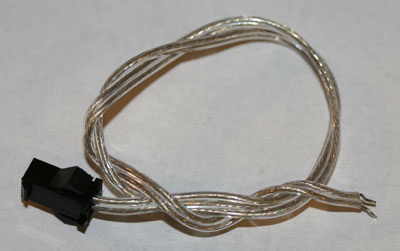
Wire:
We will need a little wire to connect the inner wing sections to the power source. We used a nice light 18ga stereo speaker wire that is flexible for these connections.
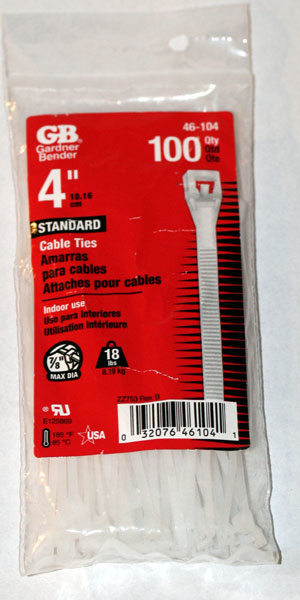
Zipties:
We used this whole bag of zip ties in this project. There just the small verity but 100 is the recommended amount if you want to make sure your wire doesn’t slip. Keep a pair of snips handy to cut off the excess.
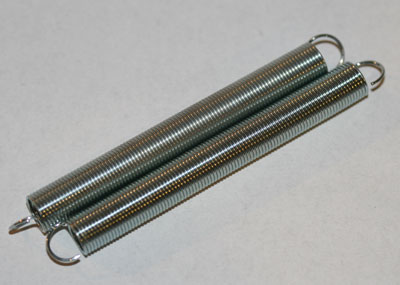
Springs:
These are some very light springs we picked up at the home improvement center. This is so the large upper wings wont sag and to provide them with a little animation but not more than we would like…
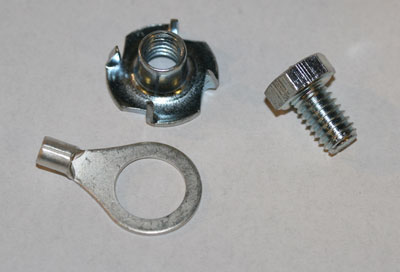
Mounting hardware:
The mounting hardware for this project is very simple. You can use a leather or plastic backing to both mount to and to add your straps. The Nut we used has a flush mount back to it so it wont dig into your back as you use this.
Quick Connects:
Most El Wire providers will offer several drivers with many connection options. We liked the quick disconnect leads for this project and just overall flexibility.
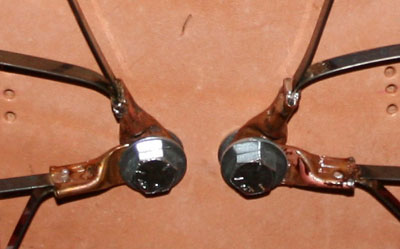
Here we can see that we took the lengths of fishtape that we cut and soldered them to the large loops we picked up. The wings are then secured to a piece of leather with holes punched for a basic light weight strap as well as the mounting for the wings.

The upper part of the mount we added a simple rivet to hold some light springs we got from the home improvement store. These help them not to sag as well as give them some lively bounce making them more animated for the person wearing it.
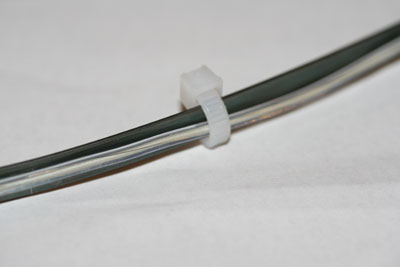
With the wing shapes done we start to wrap the el wire. This is a very easy process of just using zip ties to hold it on. For effect we put one color on the inside of the outer wing, and one color on the outside of the inner wing frame. This allows for better color blending.
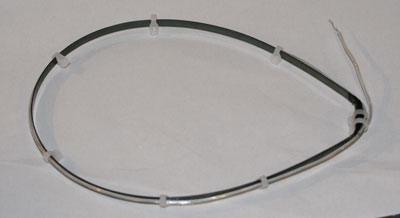
Here is a completed inner wing assembly. You can see that we used a simple overlap and tape technique to loop the fishtape. This can be done because it will be suspended inside the wing with line. Wireing into elwire can be tricky… here is a link to a how to from the vendor we got ours from.
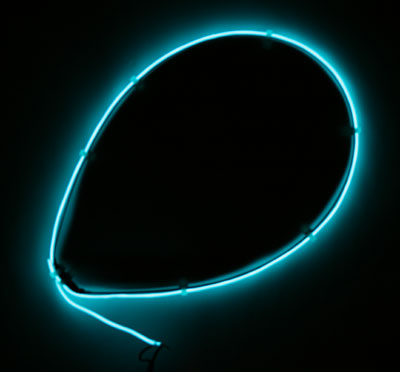
Here is the first light of the project. I had to test the lighting and make sure the effect was what I was looking for. I wasn’t disappointed. EL Wire has a real nice look to it.
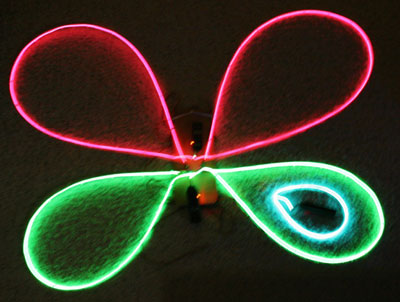
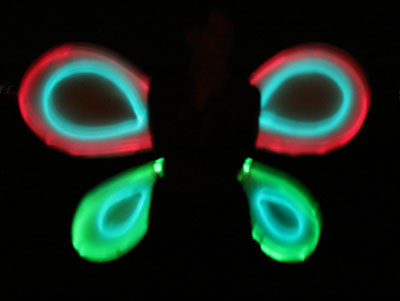
Here is the final assembly. We used fishing line to suspend the inner part of the wing so it floats in the center without casting shadows. Again you can see that we wrapped the el wire on the inside of the large wing parts and on the outside of the inner so we have some nice color blending.
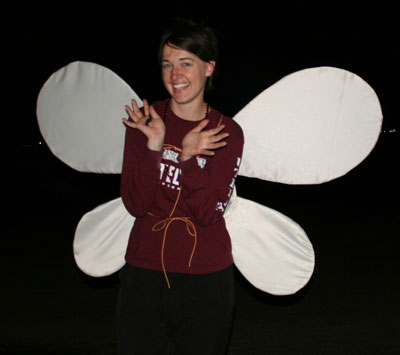
The finished project with the final application of the fabric on it. Any white fabric will work well for covering the wings. Only basic sewing technique is needed. If you can solder… you should be able to sew just fine.
Summary / End Results:
These wings were so much fun at the festival we went to. My dear friend Jane was like a magnet for people. She had lots of complements and people taking pics of her costume. So she was getting the complements… but this geek was taking them to heart 😉


