
Overview:
This is mostly just a fun article that I wanted to write for the simple reason of accessible information for anyone. Basically this is a example project that demonstrates how extremely easy it is to use the Arduino based platform to control high voltage devices via a webpage. This type of concept has many practical applications from home automation to office pranks. While in this article we will demonstrate this concept with a single relay controlled outlet this can easily be scaled up to control up to 15 separate relays with minimal cost using the components used in the base project.
Over the last 2 years I have had an opportunity to learn and teach the Arduino platform to many people I know. While I know the arguments between PIC and Arduino well I will indulge here and evangelize the Arduino platform for a moment. I believe that the Arduino platform is superior to any other entry level microcontroller platform without hesitation. When you can take nontechnical hippy artists and give them a tool to create interactive art installations with a minimal investment, or give it to a teenager and spark there interest in the technology with highly accessible and easy to use hardware you know it is a great platform alone. It may not be for everyone, but I use and love it. PIC Trolls Be Damned!
Check out this simple overview video and you can download the source here. Don’t forget to vote with your dollar and donate to help keep projects like this coming!
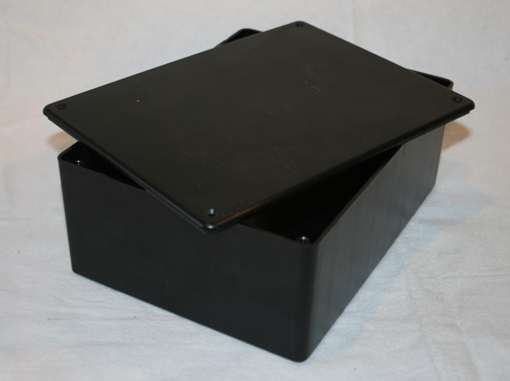
A Box:
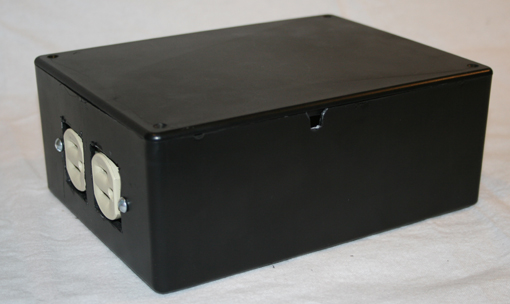
For this project we are using a simple 6X8 project box that we picked up online for about 4.00
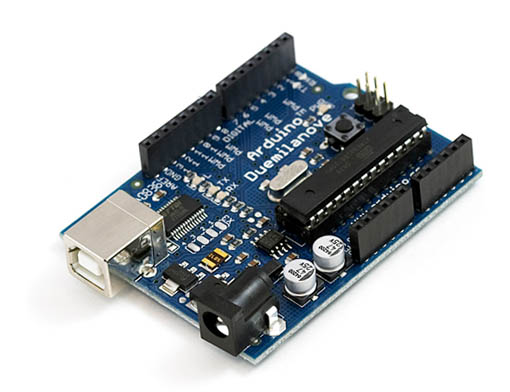
Arduino:
If you don’t have an Arduino laying around at home you should pick one up. I recommend Trossen Robotics as a vendor I trust and use. If you start doing larger projects like this make sure you don’t buy an arduino with an older chip, or upgrade it to the ATMega328. Its not critical, but helps a lot!
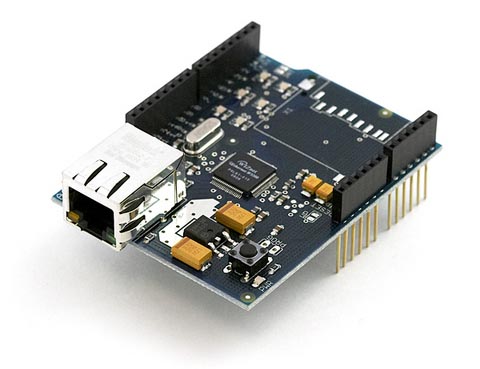
Ethernet shield:
The Arduino Ethernet shield makes this project and many other network enabled projects extremely easy. Make sure to shop around as there are many vendors charging a premium price for this component.

Wire:
We will be using some light gauge low voltage wire and 14- 12 Gauge solid core wire for this project. Make sure to check with your local home center when dealing with AC to make sure you get the right wire.
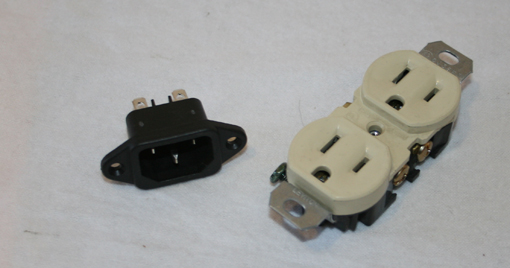
Plug Outlets:
For this project we will be using a standard household plug outlet as well as a modular computer style jack as well.
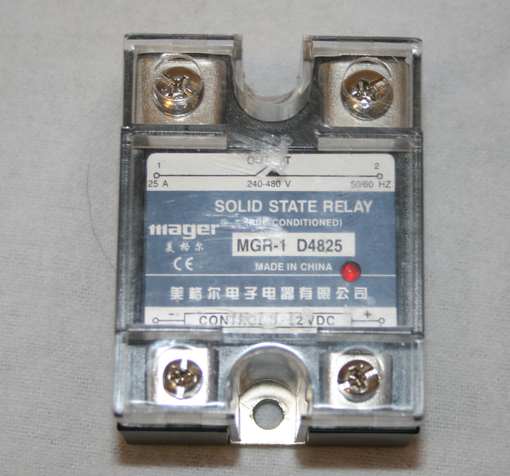
SSR (Solid State Relay):
These relays are really great! They are optically isolated so you won’t need to worry much about blowing up your hardware, and they are very reliable. I get mine off eBay for about 10.00 each with shipping.
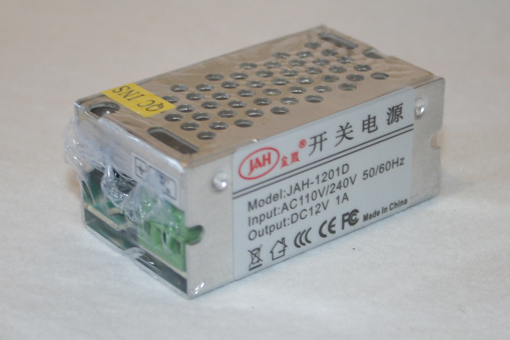
Modular Power Supply:
We picked up this great little modular power supply from eBay for about 8.00 with shipping. I really love these little power supply’s.
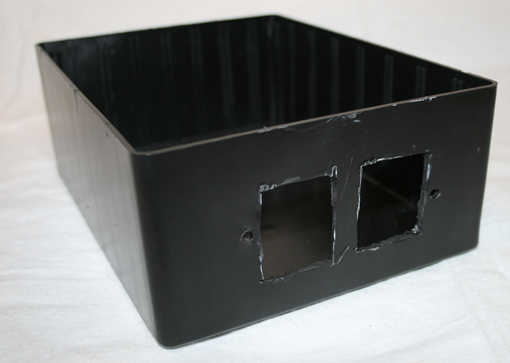
Step one in our build, trace out the holes you want to cut for the outlets. Using a dremal tool preferably, but a sharp razor will do with some force, cut a hole for the outlet. I didn’t care about precision very much for this step, but you can get exact if you want.
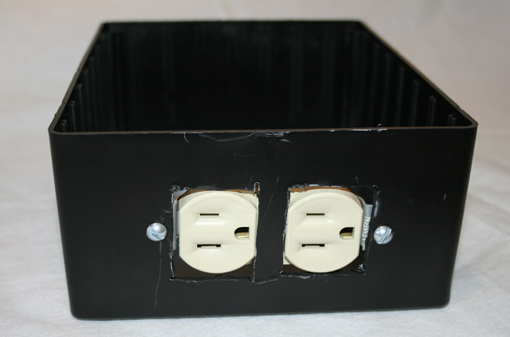
Using some screws and nuts attach the outlet securely to the project box.
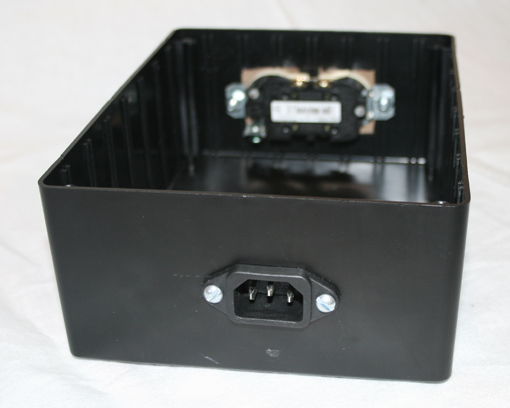
Next follow the same step with the power input outlet on the other side of the box.

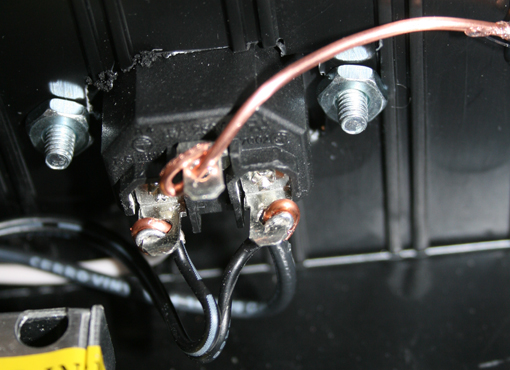
Now connect the neutral(white) and ground(green or uncoated) wires directly from one outlet to the other minding polarity.
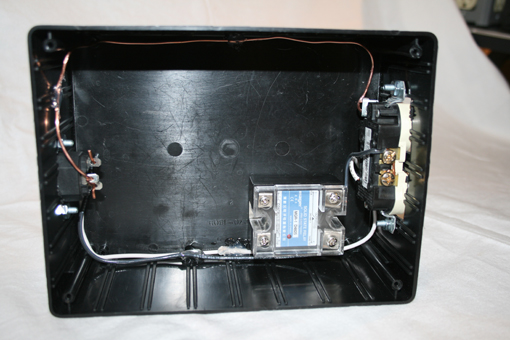
Next mount the relay with the 110V side facing the household plug outlet. Use some hot glue to hold it in place.
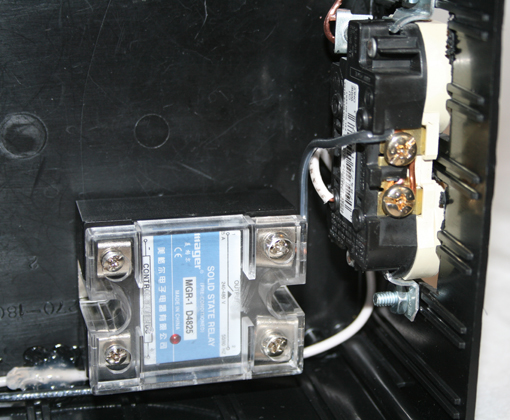
With the relay mounted (remember to leave some clearance) connect the hot (black) wires to the terminals on the relay and to the plug outlets.
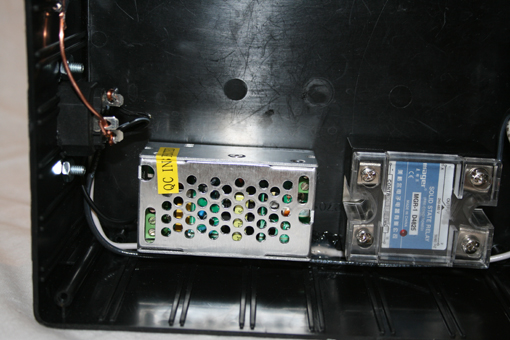
Next we need to mount the 12V power supply to the box with some hot glue. while the glue is cooling get some 16Ga wire to connect the power supply to the outlet and tin the ends of the wires.
Connect the wires from the power supply (screw terminal) to the terminals for the AC in outlet and solder in place well.
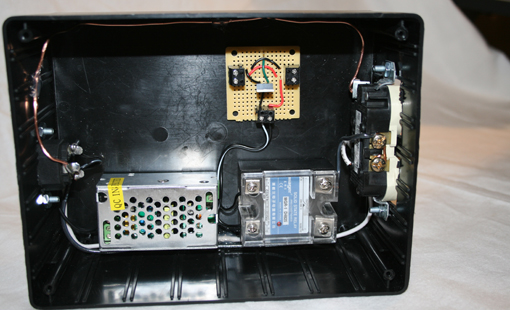
Next we will mount our control board for this project. This is a simple Darlington transistor that is used to insure enough voltage arrives at the relay to trip it and reduce the load on the Arduino. We will connect it to the relay with some 16 Ga wire with tinned ends.
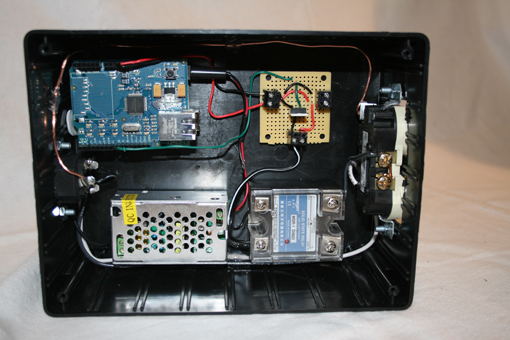
Finally we will add the Arduino with Ethernet shield installed to the box. I used some 3M command strips to mount it so if I wanted to remove it for future tinkering I could without damaging it. Connect the power supply to the Arduino and in the case of the demo source code your signal wire to the Arduinos pin 8 and power to 5V
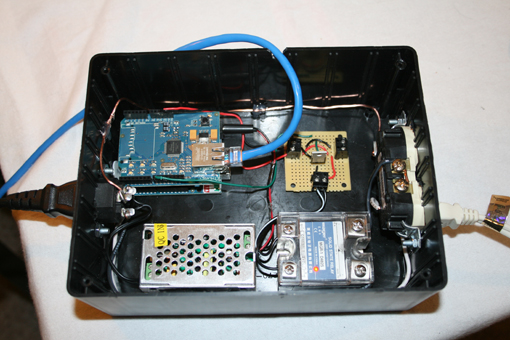
Ok, its time to connect the system to our power and network and give it a go. After doing this a couple times I decided I needed to insulate the prongs on the outlets better, though I don’t intend on getting into the box very often. Another fun fact… if you do this very same project and combine it with something like our Giant View Meter Control Box project you can easily expand this up to 12+ separate outlets!
Here we have a screen shot of the very simple interface for this project. Check out the video below to see it in action.
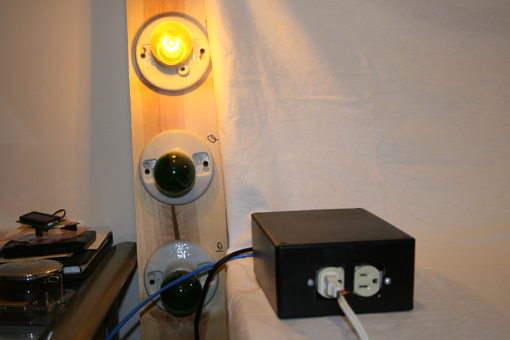
Oh! how fun! it turned on a light bulb. Just imagine what you can control via the web…
So… what do you think of this article? All InventGeek projects are funded out of pocket and we do our best to freely share what we have learned so you can do your own experiments and build on our work. This can sometime be a costly venture for us; this is why we ask for donations to help InventGeek grow and provide more interesting content. We ask only that you help and support our efforts. .


