
With the maker faire this month I decided to make some bling to bring. Having made 80 of these necklaces in august that I brought with me to burning man this year, the process is now super refined and easy. The cost to make one of these is very cheap, bordering on about 1.50 each. But the coolness factor is off the charts. At burning man I had a box of several colors of LED’s as well as some color fading ones. The color fading ones were by far the most popular. Anyway here is the how to…
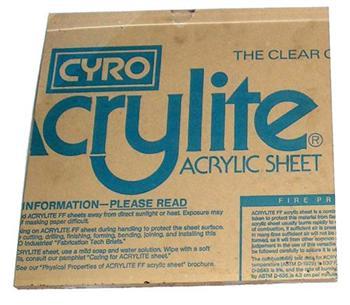
The Acrylic:
For this project we will be using 2 thicknesses of acrylic. A .220 – .250 and a .120 – .125 thickness. Acrylic is ideal for this project over lexan for instance due to how it plays with the light from the LED’s.
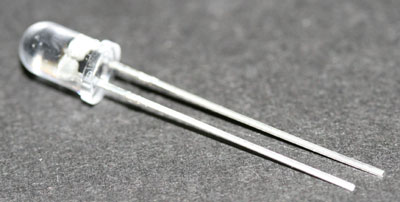
The LED’s:
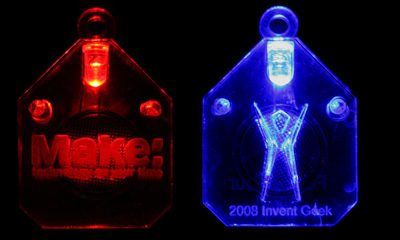
For this project you will need one 5mm led of your color. As stated before the color fading ones are very cool, UV will have a very short run time, 8-16 hours and red leds the longest run time.
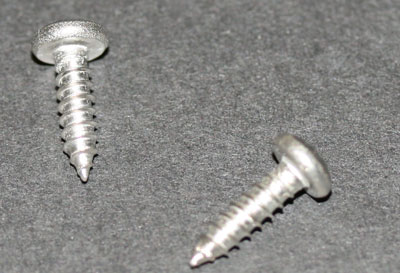
Screw :
The screws you will want for this project are about .120 and .450 long. Ideally they will have a flat head on them so the don’t stick out to far. You can use what you have laying around or hit the home center for ideas and a minor price gouging.
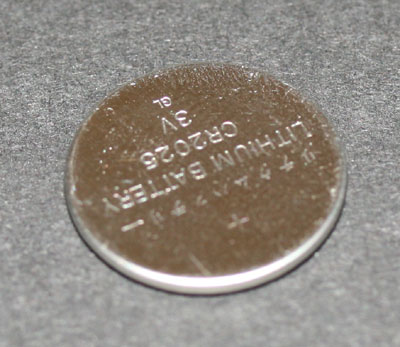
Battery:
We picked up these batteries on ebay for about .50 each in larger lots. The 3V CR2026 is the ideal thickness for this project and should last 3-7 days in these necklaces.
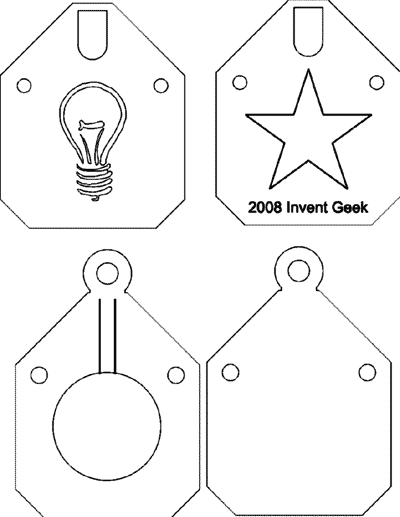
A Pattern:
For this project we used Corel draw… yes I said Corel draw… Wow… one more time to reaffirm to myself… Corel draw… ok… that’s X4 if anyone cares to know. This app believe it or not is very very good for rapid pattern dev and works very will with the epilog mini systems. It also will export any format under the sun and is natively supported by Ponoko. Here is the file for this pattern(right click, save as).
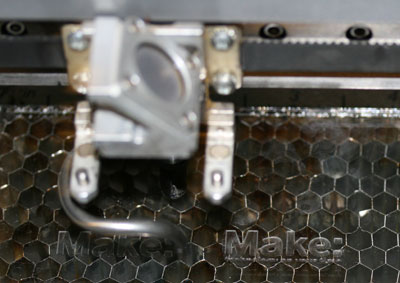
So here we go. The laser is raster etching the words and vector cutting the top layer of the necklace that holds the LED and the pattern we want to display. The epilog mini 45 system realy zips through this material with ease.
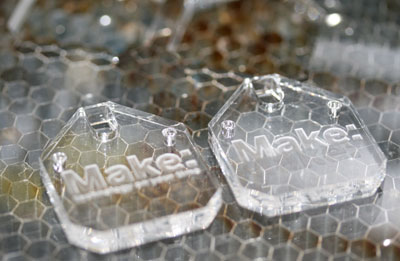
Here is the finished layer that the cutter produced. The cuts on the sides are polished from the laser cutter and very clear.
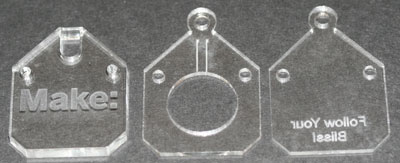
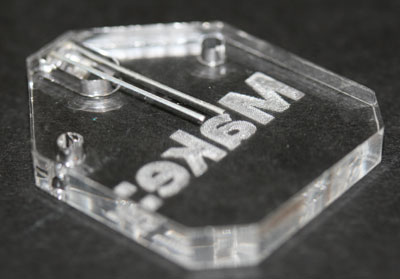
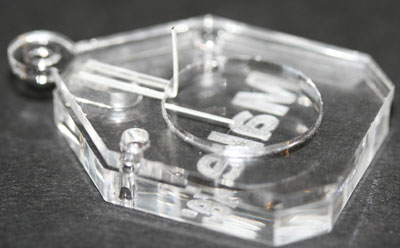
Here is each layer from top (Left) to bottom (right). We etch 2 small lines in the middle section to allow the thickness of the wires to sit in. and of course some sort of meaningful statement on the back.

Here just so were super clear is how the layers will line up.
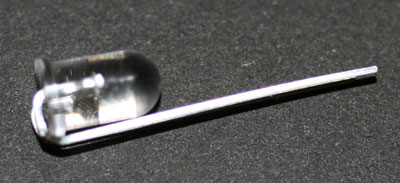
Now we will add some light to this necklace pendent. We will start by bending the wire leads around the LED its self. It is very important with the tolerances we are working with to have a very tight bend with sharp corners. This may require a little practice.
Next we will insert the led in the hole for it with the graphic face down on the workbench.
Next we place the middle layer on top of the front layer and line it up with the screw holes. Using a fingernail or some pliers bend the long lead up tightly to the battery receptacle and trim it to the same height as the second layer.
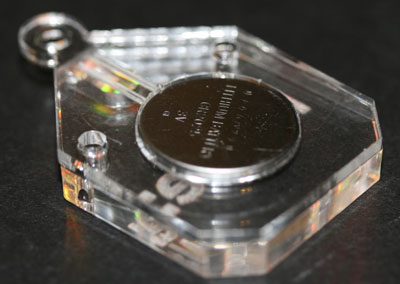
Next insert the battery into the space for it. You will need to lightly press to snap it into place and insure a good connection. The led will now light up

Using two of the over priced home improvement store screws fasten the back place tightly. Be careful not to over tighten as acrylic likes to crack… to replace the battery just remove one screw and slide the cover open.
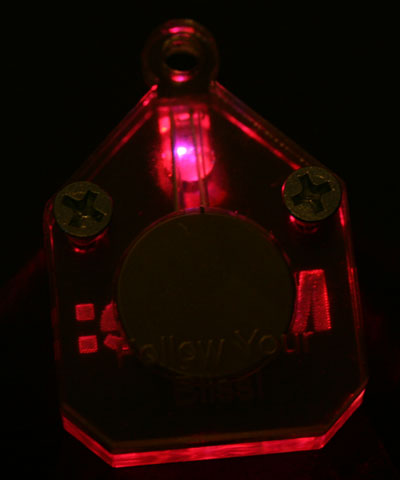
Here we can clearly see the LED is light up in our finished necklace pendant. The lighting effect is subtle on the engraving on the back of the necklace but nice.
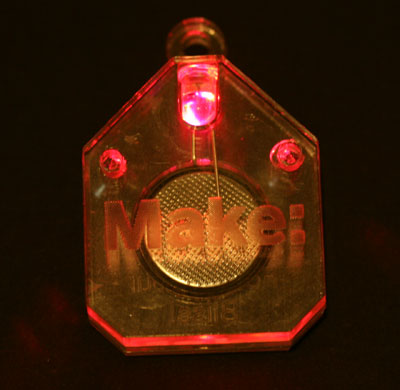
Here we can see the front of the pendant. The battery actually reflects some of the light into the engraving making it pop a little better.
Summary / End Results:
These are really easy to make and a lot of fun at any event. Great promo self or other. I look forward to showing this off at make this month, maybe I will see you there.


