Author: Jared Bouck
Project Cost:150.00
Est Construction Time: 1.5 Hr
Required Skill Level: Basic Soldering Skills
Overview:
This project is near and dear to the sprout board crew. Ultimately this concept was the genesis of a flexible platform with many applications. As our designs evolved we realized the tremendous opportunity to create something meaningful with this concept. This focus ultimately guided our decision process create completed projects in place of generic code snippets as a way to encourage the actual use of our projects.
The server room environmental monitoring system is a low cost high performance device with the same onboard features as commercial devices costing hundreds of dollars more. In addition to a low cost platform we will provide low cost sensors for many important devices to insure your equipment stays safe and sound.
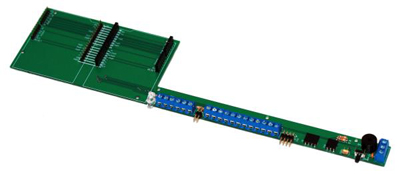
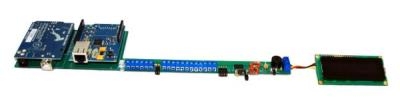
Sprout Board:
The sprout board is the core to this project. It allows the microcontroller and an accessory shield to dock with it and utilize the onboard features with ease.
You can buy a sproutboard here: Link
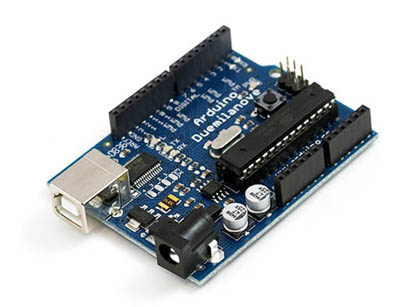
Arduino:
The world famous Arduino. A great platform for learning microcontroller basics on and a great platform for real world devices. For this project we will be using an Arduino Duemilanove. A Atmel 168 chip found on older board will work, but you will have limited resources to work with for this sketch.
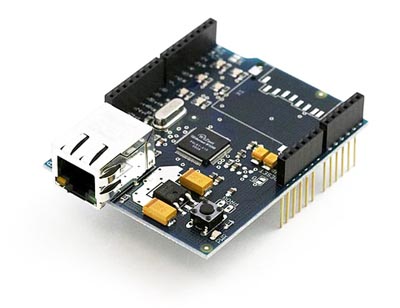
Ethernet Shield:
A brilliant piece of work! While this is optional it is highly recommended as it provides both a real-time interface for monitoring statistics, but as well provides the ability to send alerts if an exception occurs and yup, all the work is already done for you if you add it.
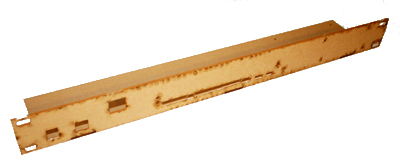
Rack Mount Chassis:
So we will be assuming you will be using this in a standard rack mount scenario and thusly we would recommend the 19″ rackount chassis for your project. But if your server room is more like a old broom closet then you may prefer the wall mount chassis. Either way it will help protect your project from the stray broom handle.
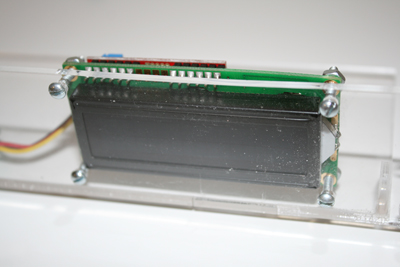
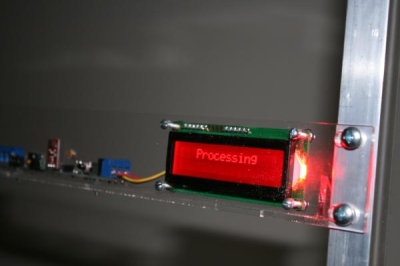
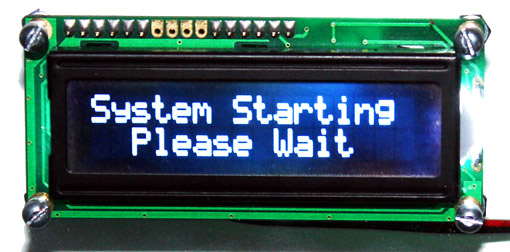
LCD Screen:
So I say this is an optional component… but technically so are many things that we call conveniences. the serial lcd screen uses only 3 wires and provides real time information about the climate it is monitoring. You may want to save the 25.00 and just use the web interface and that’s just fine, but you will definitely lose the bling factor.
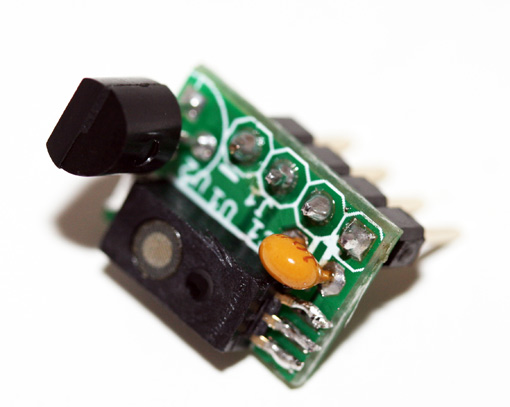
Temperature / Humidity Board:
The most important thing to have for your server room monitoring system. This sensor board monitors temperature and humidity using the front accessory socket on the sprout board. Additionally these can be used for external sensors for temperature or humidity individually or combines with ease.
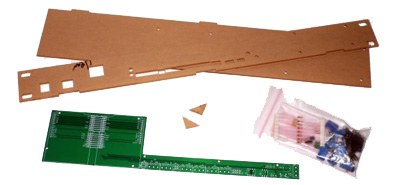
Building the Sprout Board:
Here you will find instructions and a step by step picture based guide to help you assemble your sprout board project as well as a some information for accessories that you may want to add to your sprout board to extend its capabilities. Link

Configuration and Setup:
The setup for this project is very easy and all the information you will need is contained in the sketch. The default IP address for the Ethernet real time reporting is 192.168.0.123 and is setup as a variable that is easy to change. We used the Arduino 0017 Dev environment found here. Simply download, Unzip and load on your arduino to use. The sketch also includes information for sending email and tweets with information pertaining to its configuration.
Analog I/O:
Analog 0 – CCD Light Sensor (CDS1)
Analog 1 – Accessory Terminal Block 1 (TA1)
Analog 2 – Accessory Terminal Block 2 (TA2)
Analog 3 – Onboard Accessories Socket 1 (Temperature sensor on external board J9)
Analog 4 – Onboard Accessories Socket 1 (Humidity sensor on external board J9)
Analog 5 – Onboard Accessories Socket 2 (Sound J10)
Digital I/O:
Digital 0 – Not used
Digital 1 – Serial Terminal (TS1)
Digital 2 – Onboard Switch (SW1)
Digital 3 – Onboard Peizo Speaker (SP1)
Digital 4 – LED 1 (LED 1)
Digital 5 – LED 2 (LED 2)
Digital 6 – Accessory Terminal Block 1 (DA1)
Digital 7 – Accessory Terminal Block 2 (DA2)
Digital 8 – Accessory Terminal Block 3 (DA3)
Digital 9 – Accessory Terminal Block 4 (DA4)
Digital 10 – Reserved For Additional Shield (Ethernet shield pins correspond)
Digital 11 – Reserved For Additional Shield (Ethernet shield pins correspond)
Digital 12 – Reserved For Additional Shield (Ethernet shield pins correspond)
Digital 13 – Reserved For Additional Shield (Ethernet shield pins correspond)

Ideas and Accessories:
In addition to the features of the base configuration , there are many other devices you may want to add to your project to increase its capabilities. In our pilot installation of our server room monitor we utilized our additional I/O on the front panel to connect several other sensors.
The sensors we used were as follows:
One additional remote temperature sensor installed at the AC vent.
One magnetic reed sensor installed on the door to the server room to act as a entry monitor.
One Smoke Detector with a built in alarm I/O port connected to our digital I/O.
One simple water sensor plate connected to our analog inputs.
One AC powered relay to detect City power Failures.
One solid state relay connected to an emergency exhaust blower.
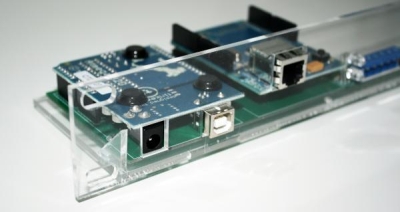
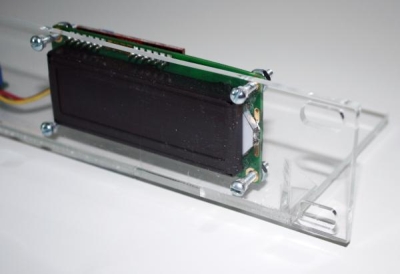
Image Gallery:
Below are some nice pics of the sprout board server room monitor project. Yeah its kind of fun to show off some of the cool stuff we have built and we hope it inspires you to build your own creations!
You can buy a sproutboard here: Link