For many people wanting to experiment with algae or even those who are serious about mass production there are usually problems with space or seasonal restrictions they have to work with. This reactor design is an attempt to produce a reactor that will run indoors year around safely with a minimal use of power. One thing I decided to try with this reactor design is a passive pumping system so that I don’t damage my algae like a centrifugal pump can.
Solar Tubes :
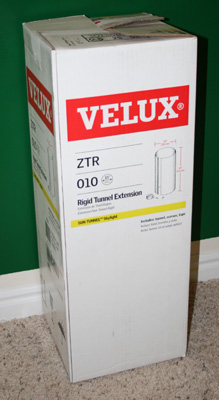
For this project we are really attempting to capture as much light as we can. To accomplish this we will be using a highly reflective solar tube for the main structure of our reactor. These are typically used in lighting applications to bring natural light into living spaces without major construction to create a typical skylight.

Tubing:
For this project we used 80 feet of 1/2” OD 3/8” ID clear plastic tube. This will roughly hold a volume of 2 liters of fluid with an extra liter of fluid in the reservoir on top. This tube is available from any home improvement center and is about .20$ a foot.
Lighting:
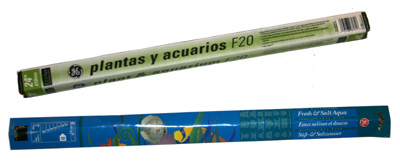
The core of this project is the light source. We used typical plant or aquarium bulbs that are ideally suited to our application. The light is on the warm side of the color spectrum and the bulbs don’t seem to get above 90 degrees.
Acrylics:
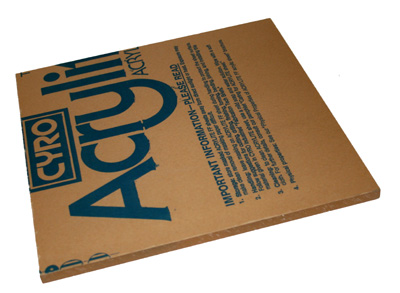
For the top and the base of this project we opted to use acrylic for a couple of reasons. First off I had this material just lying around. Secondly I wanted to make this a bit of an art piece that I could enjoy in my house. I think the pictures at the end of this write up will show if I was successful at the attempt.
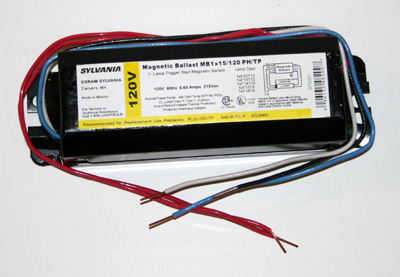
Neon Transformer :
This transformer (also called ballast) is the smallest I could find and cost me about 9.00USD. This will power up to one 6 foot tall tube and worked out well for our project with our smaller tube. These can produce a lot of voltage so use caution and follow installation instructions carefully.
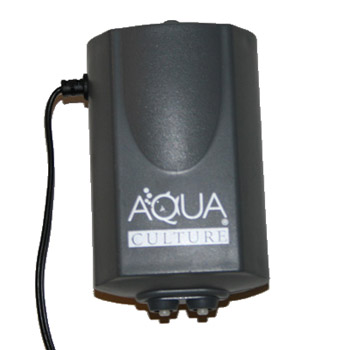
Air Pump:
For this project I wanted to build a system that didn’t have the algae in contact with any moving parts that could harm it. Most centrifugal pumps can damage the algae we want to grow. My solution was to let air bubbles do the work for me by simply letting the air bubbles float to the top of a spiraling tube.
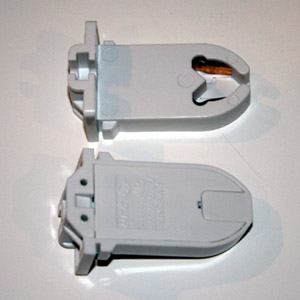
Bulb Mounts :
TTo securely hold our bulb in its place we used these commercially available bulb mounts. These are usually in the same section of your home improvement center that the transformers are and cost no more than 4.00USD a set.
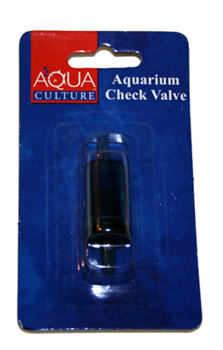
Check Valve:
The check valve we used in this project is very important. This simple little device prevents water from flowing back into the air pump when the system is powered down. For 2.00 its worth every cent!
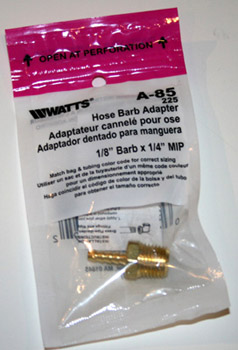
Brass Fittings:
To get the air from our 1/8th inch air line to our ½ inch pipe we needed a secure way of connecting the two lines together. This barbed brass fitting was the perfect fit. The threads make a strong water tight connection to the large tube.
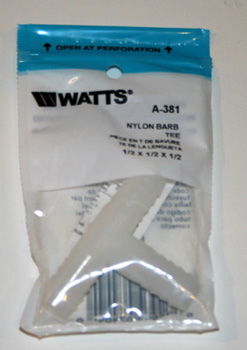
Plastic Tee:
The main pluming for this project is dependent on one of these inexpensive fittings by allowing a path the air from our pumps into the reactor.
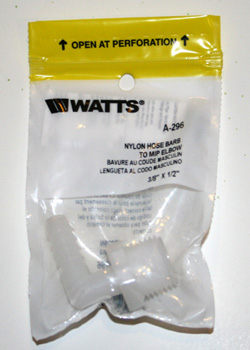
More Fittings:
This 90 degree “L” Bend fitting provides both drain and inlet into our storage tank. We simply drilled a hole into the tank and threaded this into the hole for our fittings. Some silicone to insure water tight seal and were set.
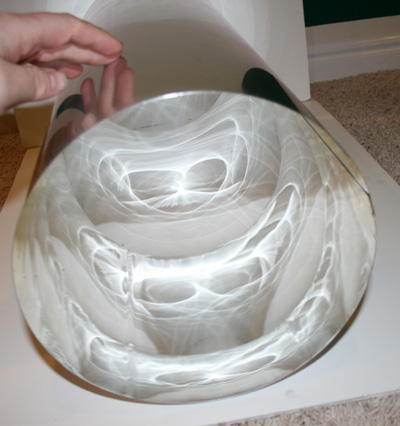
Here we have our solar tube. As you can see from this picture it is highly reflective. The edges of the tube are very sharp metal. I recommend using some safe leather gloves as you work with the tube.
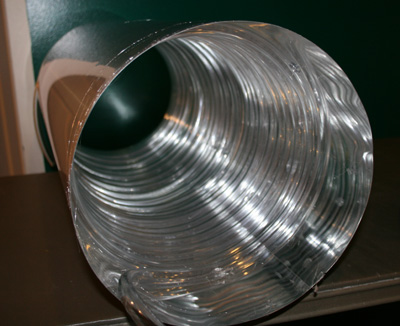
Here we are starting to install the tube. The tube will have a natural direction it will want to roll due to the coiling process for shipment. If you have the presence of mind to pay attention to this you can make your life much easier to coil the same direction it is rolled naturally.
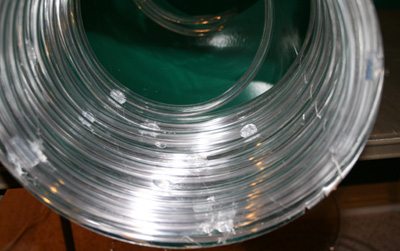
Every 8 inches of the coiled tube I used a bit of hot glue to hold it in place. The nice thing about hot glue on metal is how fast it cures and solidifies. This makes the process of coiling the tube very easy overall.
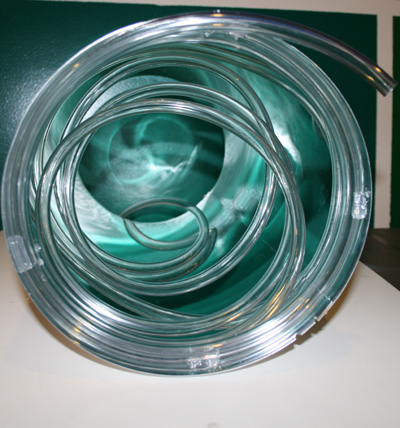
Here we have the finished main winding of algae reactor. We have stopped at this point 3 inches from the bottom of the tube and cut the tube and then continued the coil in the rector tube. The reason for the cut is to make it easy to attach the “T” fitting in the tube in a later step.
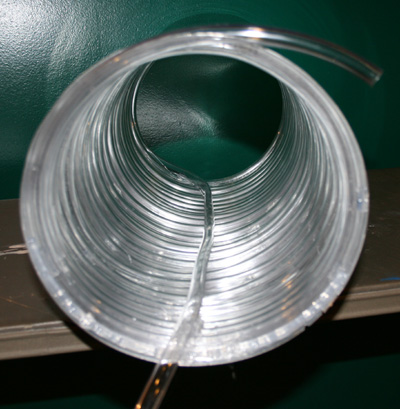
Without cutting the tube we will then run it up to the top of the reactor with any extra hose extending out the top. Secure this tube to the side of the reactor walls using hot glue. This will be the return hose from our tank to the bottom of the reactor.
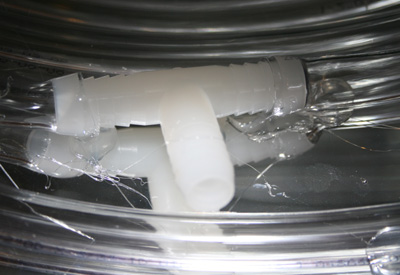
In the cut in the tube approximately 3 inches from the bottom of the tube we will install the “T” fitting. Use a little silicone to insure the joints are leak proof.

Next up we will be connecting our air feed to the reactor coil. The first step we need to do is go obtain an 8 inch length of our tubing. This will be nearly the same size as the threaded portion of our brass fitting. Simply insert the end of the fitting into the tube. I used a hand wrench to screw this into the tube. Add a zip tie tightly around the tube overlapping the fitting for a leak proof seal.
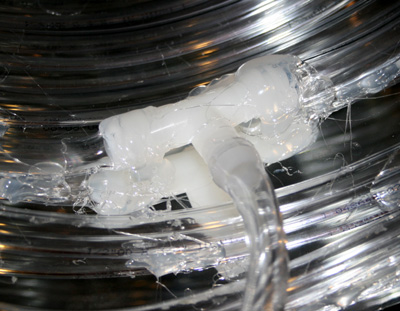
With the barbed fitting installed in the hose simply push it onto our inline fitting.
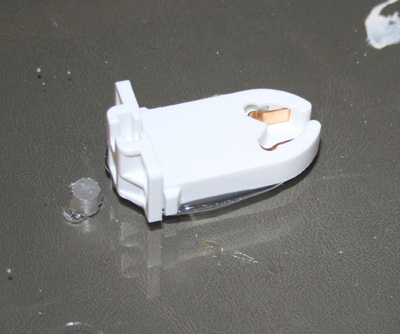
Now onto electrical. Using some epoxy glue the electrical connector to the center of the top plate of the base. Drill a hole for the wires from the transformer at the bottom of the connector.
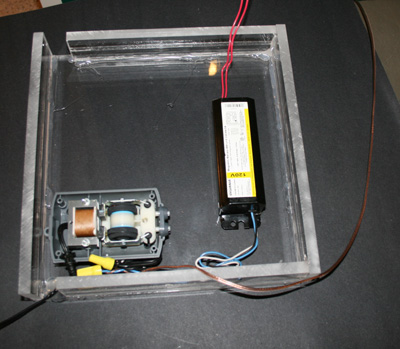
In the bottom of the base use a small amount of hot glue to secure the air pump and transformer. In the design of this base you will notice gaps at the back of the reactor. This is for airflow and cooling. The lighting tube puts out a mild amount of heat and we only need convection to cool the main algae reactor chamber. To accomplish this make sure to drill holes in the base and tops to allow for airflow. You can see the long cord attached to the transformer that will go to the top end of the bulb.
Now onto the air fittings. Our air pump has two outlets on it so we needed to combine them with a simple Y hose. If your pump has a single line out then don’t bother with this step. But note the check valve and direction of flow.
Next up install the tube onto the top of the base. Feed the air line through a hole in the top of the base into the base and attach it to the air feed tubes.
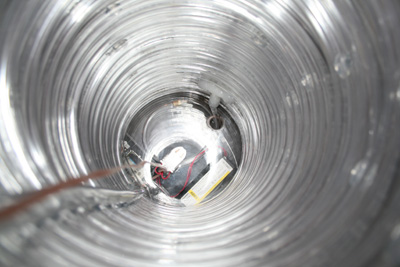
Here is a closer view of the configuration. You can see at the bottom of the tube the wires attached to the connection for the bulbs and the wires going to the top of the tube.
Here is the assembled top of the reactor. We have some extra hose just coming out of the top and you can see the electrical connection are made.
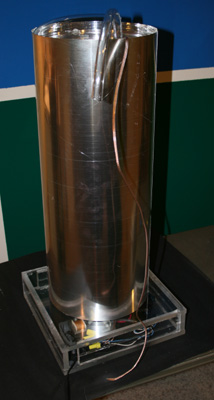
So here is the reactor as it stands at this point in assembly. I have turned the lights on for testing prior to final assembly and filling.
So for our tank we are using a simple plastic container and we drilled two holes in it for the feed lines. As we want to use gravity to help us along here with our water flow as well as much agitation as we can get for our air bubbler pump we will install the drain at the bottom of the tank.
Here is our inlet for the main tank and obviously the pump is running. Use some silicone inside and out to make sure these connections are leak proof.
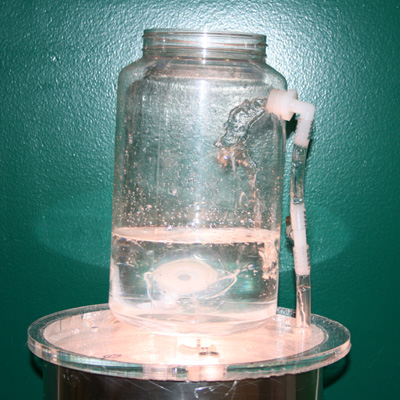
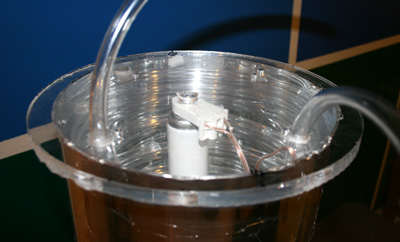
So here is the pump in action. You will note I have the lid off. The lid will need to have holes poked into it to allow the air we are introducing into the system to exit the system.
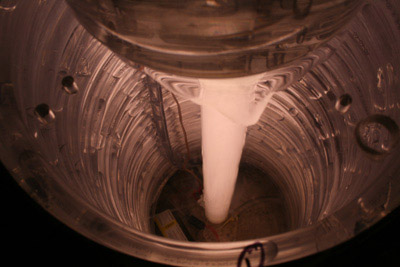
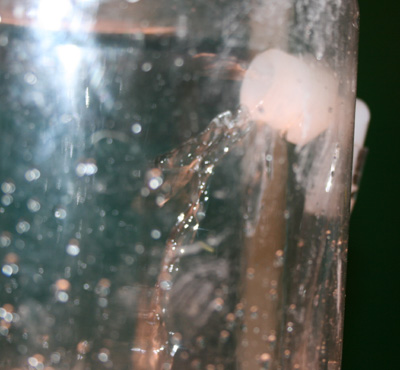
Here we can see into the reactor. Its hard to see in this picture but if you look close you can see the bubbles in the lines.
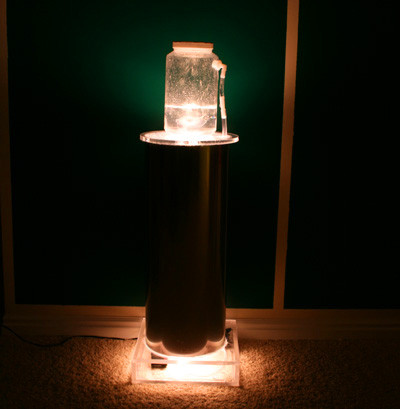
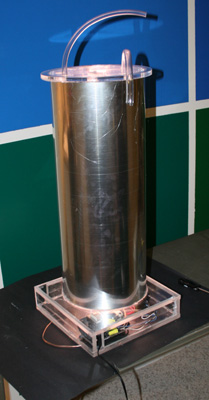
Here we have our glamour shot. The reactor at this point if fully functional and I have inoculated it with my culture. It will be interesting to see how this reactor works with different algae strains. In a future project I will be refining the design to double as end tables and looking to create new design refinements based on how it works overall.
Here we have a video review of the project and of the system running. It’s worth reminding our wonderful visitors to help support the site and our growth. What we are doing is here entirely out of our pockets and any support we can get always helps! Feel free to use our donate link on the right and support our growth and development of new projects.


