Modular Photo Bio Reactor Cell Design
Most large reactor arrays have one failing in that if any part of the reactor is damaged it can compromise the entire reactor. Imagine 500 gallons of algae water flowing where ever it wants to go and you get the idea… With this in mind this system is modular system with failsafe design in case of reactor damage or failure. This system is designed around affordable self contained reactor cell designs that can still be incorporated into a larger system design or used stand alone. These high volume cells are a great way to grow many algae strains for experimentation and research in a confined space.
Some PCV Pipe Fittings :
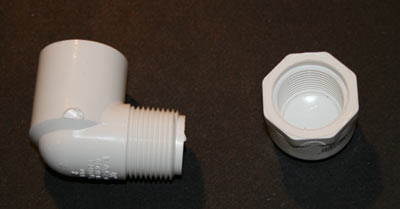
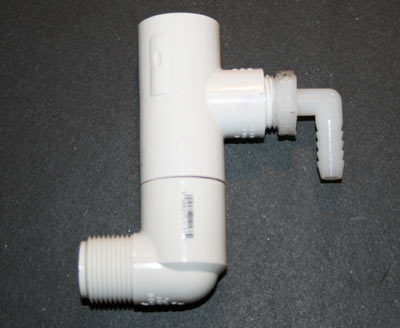
The bottom access to our algae reactor cell will be created using an unusual piece of plumbing. This right angle ¾” to ½” threaded adapter and end cap will cost anywhere from 40 cents to 1.50 for the pair. This is an ideal arrangement though for quick access to drain and fill your reactor or to connect to a larger harvesting array with a replicable connection
Some More PCV Pipe Fittings:
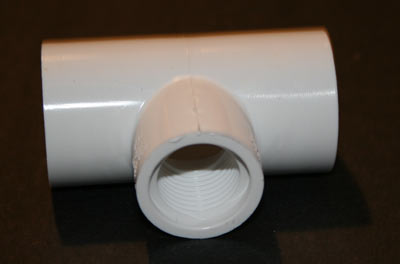
This “T” fitting is a common piece of sprinkler system gear normally used to connect a sprinkler head to the underground lines. This is a ¾” fitting with a ½“ T that is threaded and will cost from 20 – 50 cents each
PCV Pipe 3/4″ :
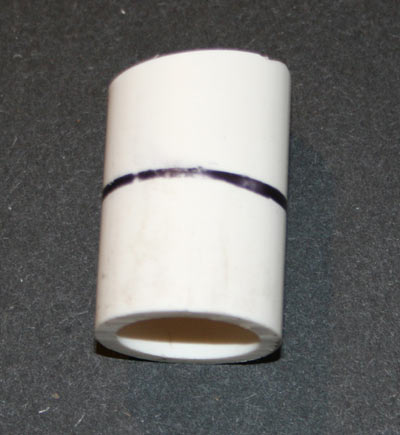
This is 3/4” Schedule 40 PVC pipe that has been cut into 2 inch lengths. This piece is mere pennies in cost and serves to connect our right angle drain and T fitting.
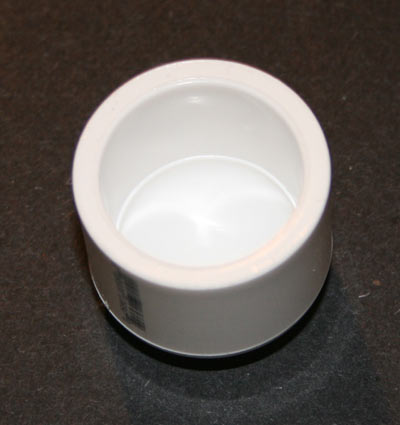
PVC End Caps:
This is a ¾” PVC pipe cap. These will run about 30-50 cents each at your hardware store. If you intend to use an air recirculation system for CO2 injection you will want to abandon this for a fitting that will be more appropriate for your need.
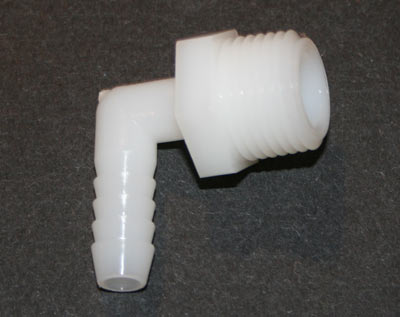
Air Connection:
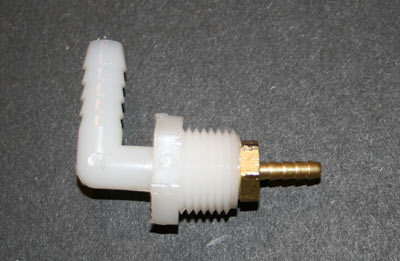
This is a right angle 3/8” barbed to ½” threaded fitting that will screw into our T fitting. The brass fitting below will be screwed into this fitting to connect the air system inside the tube to our external supply insuring a leak proof algae bio reactor system.
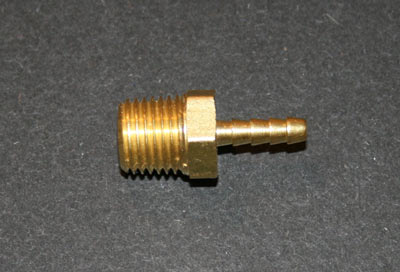
The Hose Fittings:
This is a 1/4” threaded fitting with a 1/8th barbed end brass fitting. This will actually be installed inside of the right angle fitting above for a leak proof transition to our air lines inside the reactor cell. These will cost anywhere from 1.00 – 2.00 each.
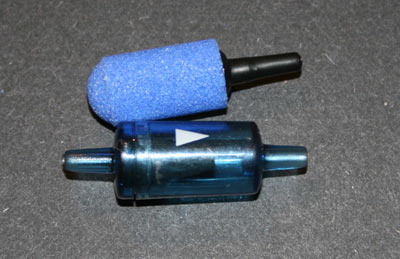
Bubbles and Flow Control:
Our aeration system will be self contained and assembled inside each algae reactor cell. We will use a simple aquarium aeration stone and an inline check valve to let air into our reactor cell but keep the water from leaking out into our air system when the system is powered down.
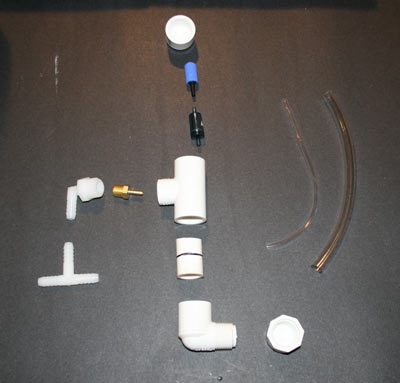
This is a representative example of all the parts for the algae reactor cell design and each parts placement.

Step one is to glue up the reactor base assembly. If you haven’t glued PVC before there are many instructions online that you can follow to insure success in this process.
When you press the pieces together some of the glue and dissolved PVC will ooze into the tube from the joint. Once these dry they can become brittle and crack leaving sharp edges exposed for your hose to rub against. Using a flat head screwdriver simply scrape this goo away while it is still soft.
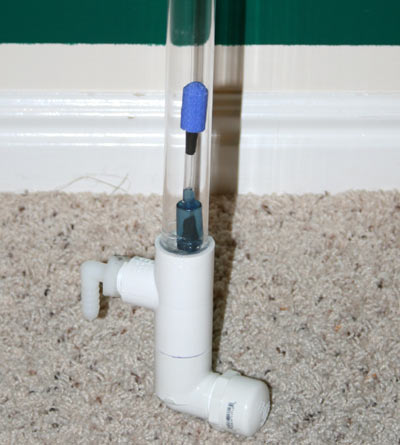
Next up is to install the brass fitting into our plastic right angle fitting. This is simply accomplished with 2 wrenches, or a wrench and a socket and ratchet on the brass fittings side. While it will require a little elbow grease it is an easy step overall.
Next using some Teflon tape around the threads, gently screw the fitting into the T segment and leave the inlet fitting pointing down. One tip I learned the hard way was to connect a 3” length of 1/8” aquarium hose to the brass fitting and feed it up and into the tube to make connection of the bubbler module easy.

Next is to trim the air hose in the pipe to length and connect it to the check valve. Make sure the check valves flow indicator is facing in the up direction when you put this all together or you will be very disappointed.
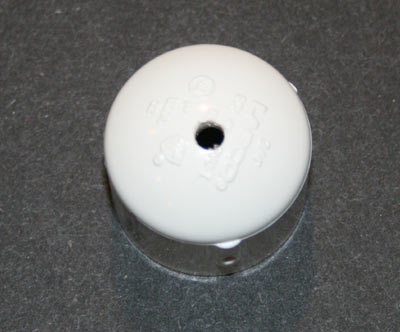
Next up is to drill a hole in the top cap to allow air to escape. The size of this hole is important to the system and should be no larger than the air inlet tube to maintain a positive pressure in the tube and prevent contaminants from entering (other algae strains for example).
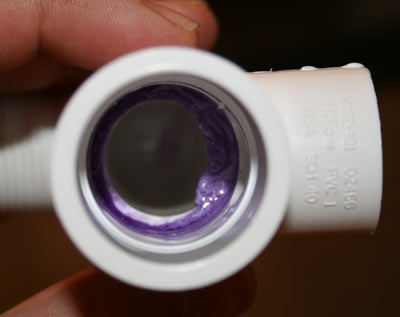
Now we glue it together. Using some silicone (GE Clear Silicone II preferable) place a bead inside the pipe and twist the acrylic tube into the glue while pressing the tube firmly in place. Then place a bead of glue around the top of the pvc tube and smooth using a damp rag or your finger if you don’t mind getting messy… Make sure to remove the plug from the bottom to allow the tube to breath. Silicone products will off gas ammonia and methanol and we don’t want that trapped in the tubes, in rare cases it can rupture your accrylic if air tight. Due to the surface area of the glue joint allow for double the total cure time by the manufactures instructions before filling.
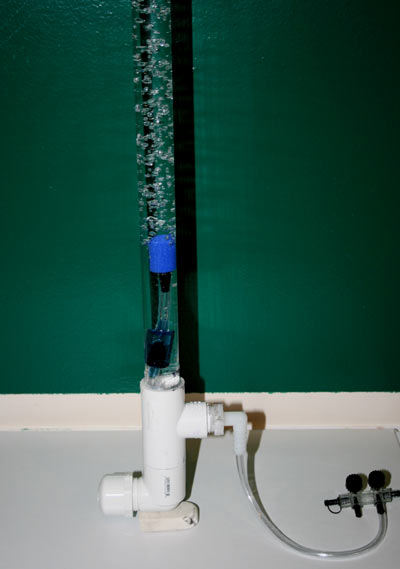
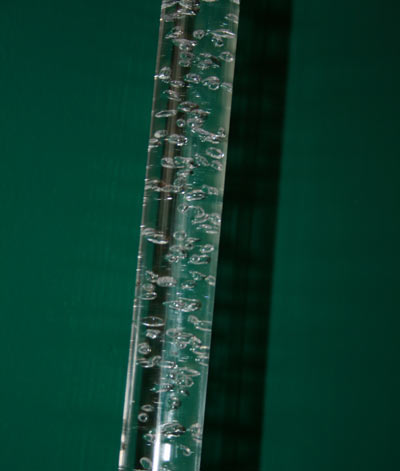
Here is a close up of the finished reactor cell working. One little thing I found is that in such a tall narrow vertical tube the amount of water displaced by the bubbles can be quite surprising. My first attempt to fire this reactor cell up resulted in my ceiling and myself getting soaked. To address this I simply placed inline a 1.50 aquarium air flow control valve. This also is helpful with regards to maintaining pressure in the entire reactor if you need to service or harvest a tube.
And here you can see the completed system. It stands just over 2 meters tall. One of the things I love about this system is that you can connect all the cells to a single drain / harvesting system and refill the tubes all at once through the same outlet or each algae reactor cell can hold a totally different strain of algae. This flexibility in a cheap modular system is ideal for my projects and I hope for yours as well.
Related Posts

No Comment